


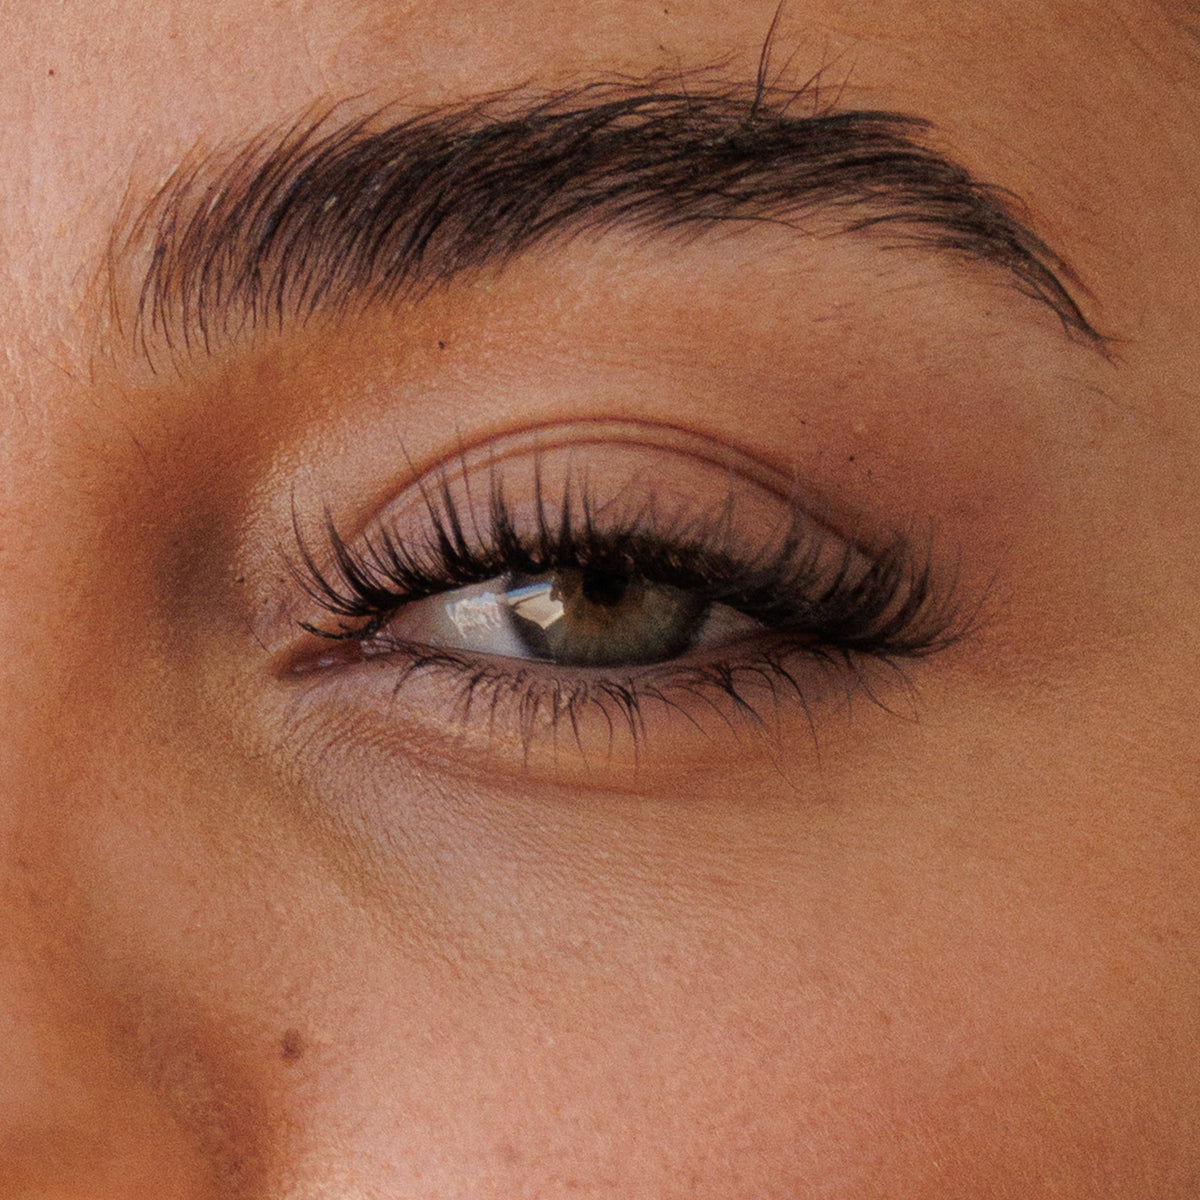

Pre-Mapped Segment DIY Lash Starter Kit
LASH: CLASSY ONE


- In stock
- Free delivery over £60
Notify me when it's back
or 3 payments of £13.34 with Klarna.
Min order £30. 18+, T&Cs apply, credit subject to status.
DESCRIPTION
The Classy One Starter Kit contains everything you need to apply, wear, remove and store your DIY lash extensions at home. Designed with beginners in mind, this complete at-home lash extension kit removes the guesswork from choosing the correct products and creating your first lash set.
The Classy One creates a soft, classic lash-extension effect with delicate length and natural-looking definition. Each pair arrives pre-cut and pre-mapped into eight lash segments, four for each eye so there is no measuring, trimming or choosing individual lash lengths.
Simply apply the graduated 10–14mm D Curl segments underneath your natural lashes in their pre-planned order using the included Bond & Seal. Once positioned, gently pinch the segments and your natural lashes together for a lightweight, seamless finish.
With correct application and aftercare, your pre-mapped lashes can last for up to seven days. When you are ready to remove them, use the included Lash Remover to gently dissolve the adhesive before cleaning and storing your reusable lashes.
Your Starter Kit Includes
- 1 pair of The Classy One Pre-Mapped Lashes
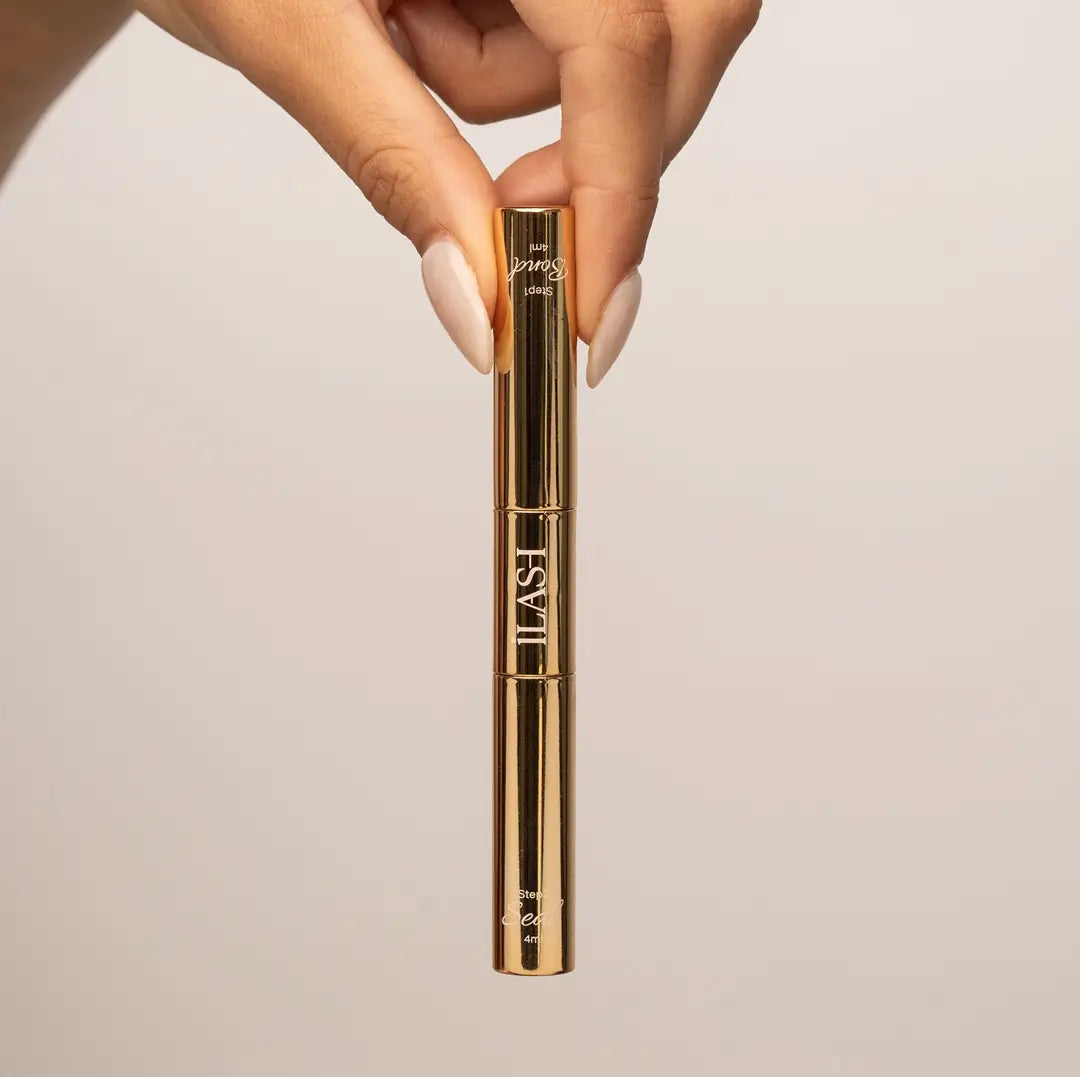
- Bond & Seal 2-in-1 adhesive
- Lash Remover with vitamin E and castor oil
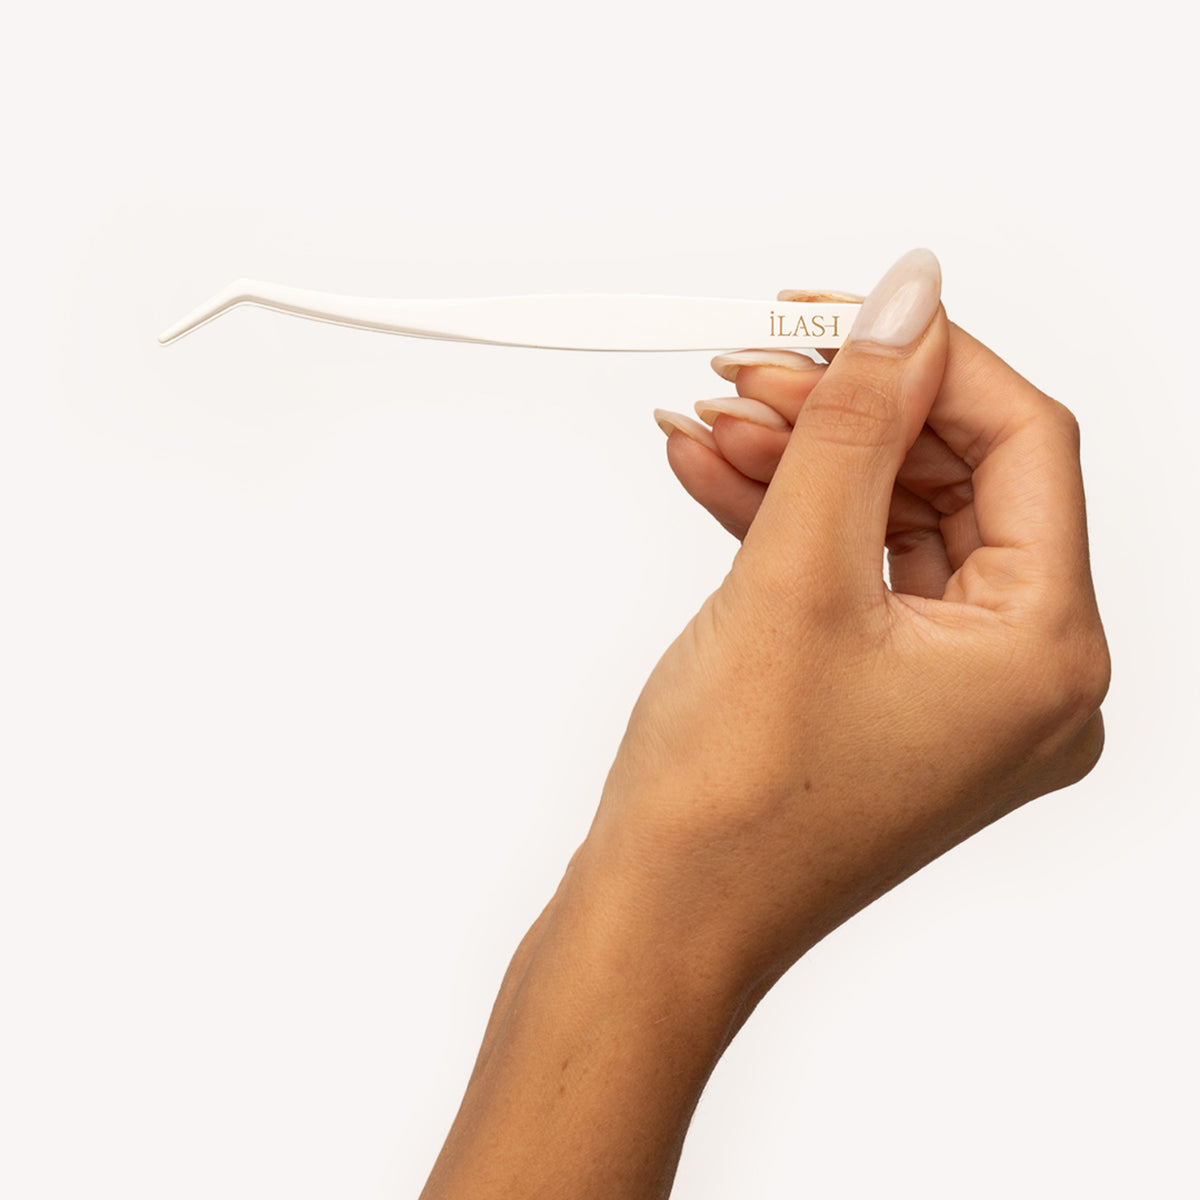
- Non-Stick Application Tweezers
- Keepsake storage box for lashes and accessories
Pre-Cut • Pre-Mapped • Classic Individual-Lash Effect • 10-14mm • Black
WEAR TIME - Lasts up to 7 days paired with Bond & Seal
WHY YOU'LL LOVE IT
HOW TO APPLY
SHIPPING & RETURNS
Choose options

hOW TO APPLY
Pre mapped
how to apply
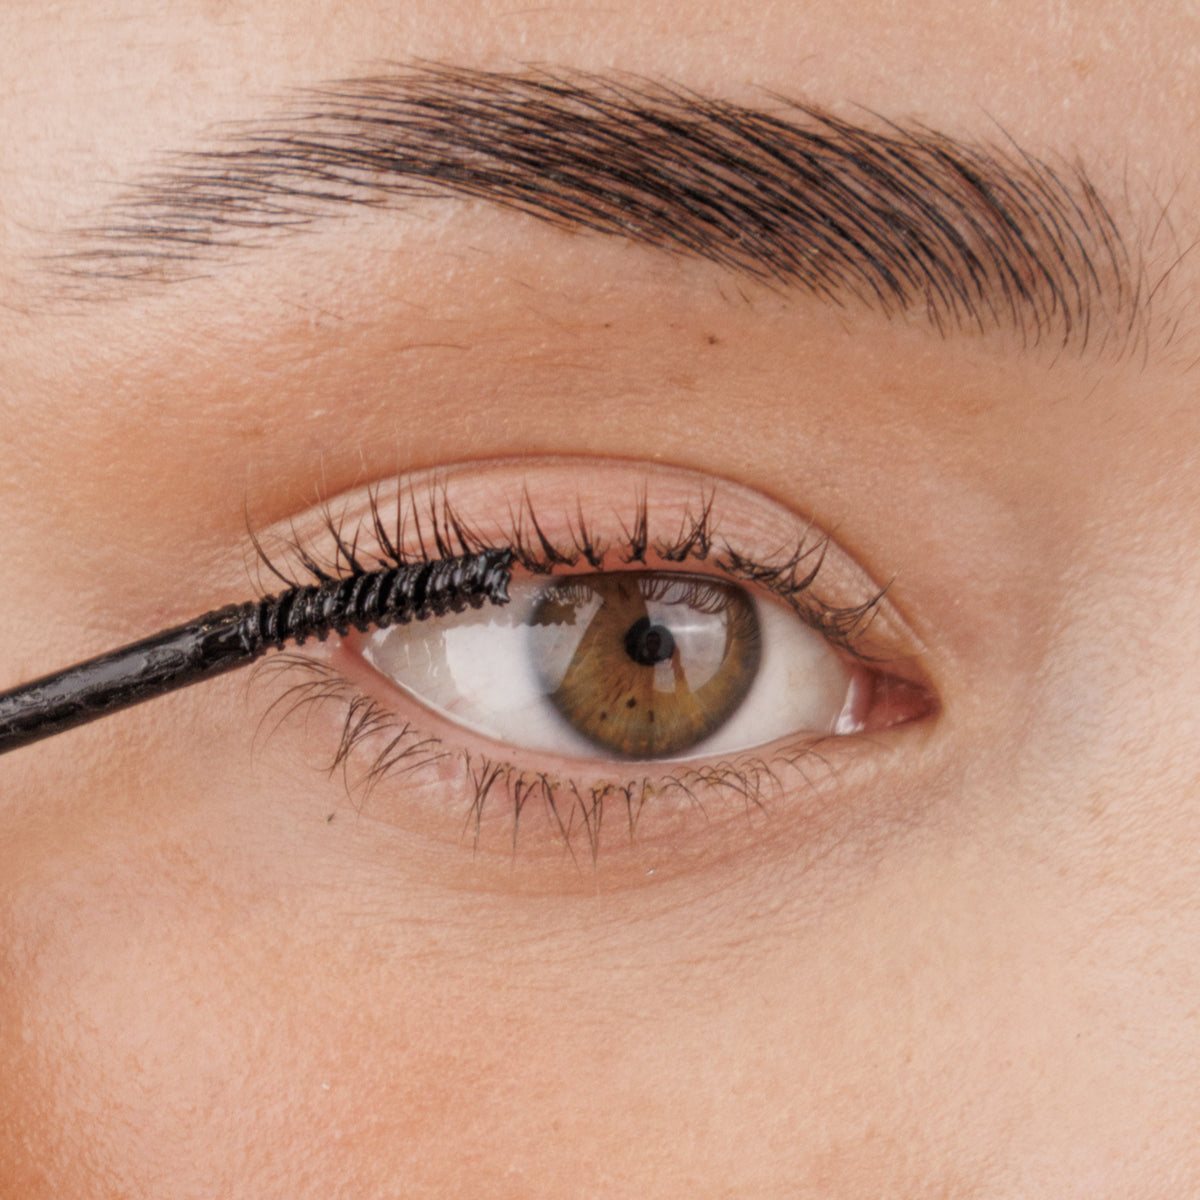
Apply Bond
Apply a small amount of bond to your lashes by dabbing the applicator at the base of your lashes.
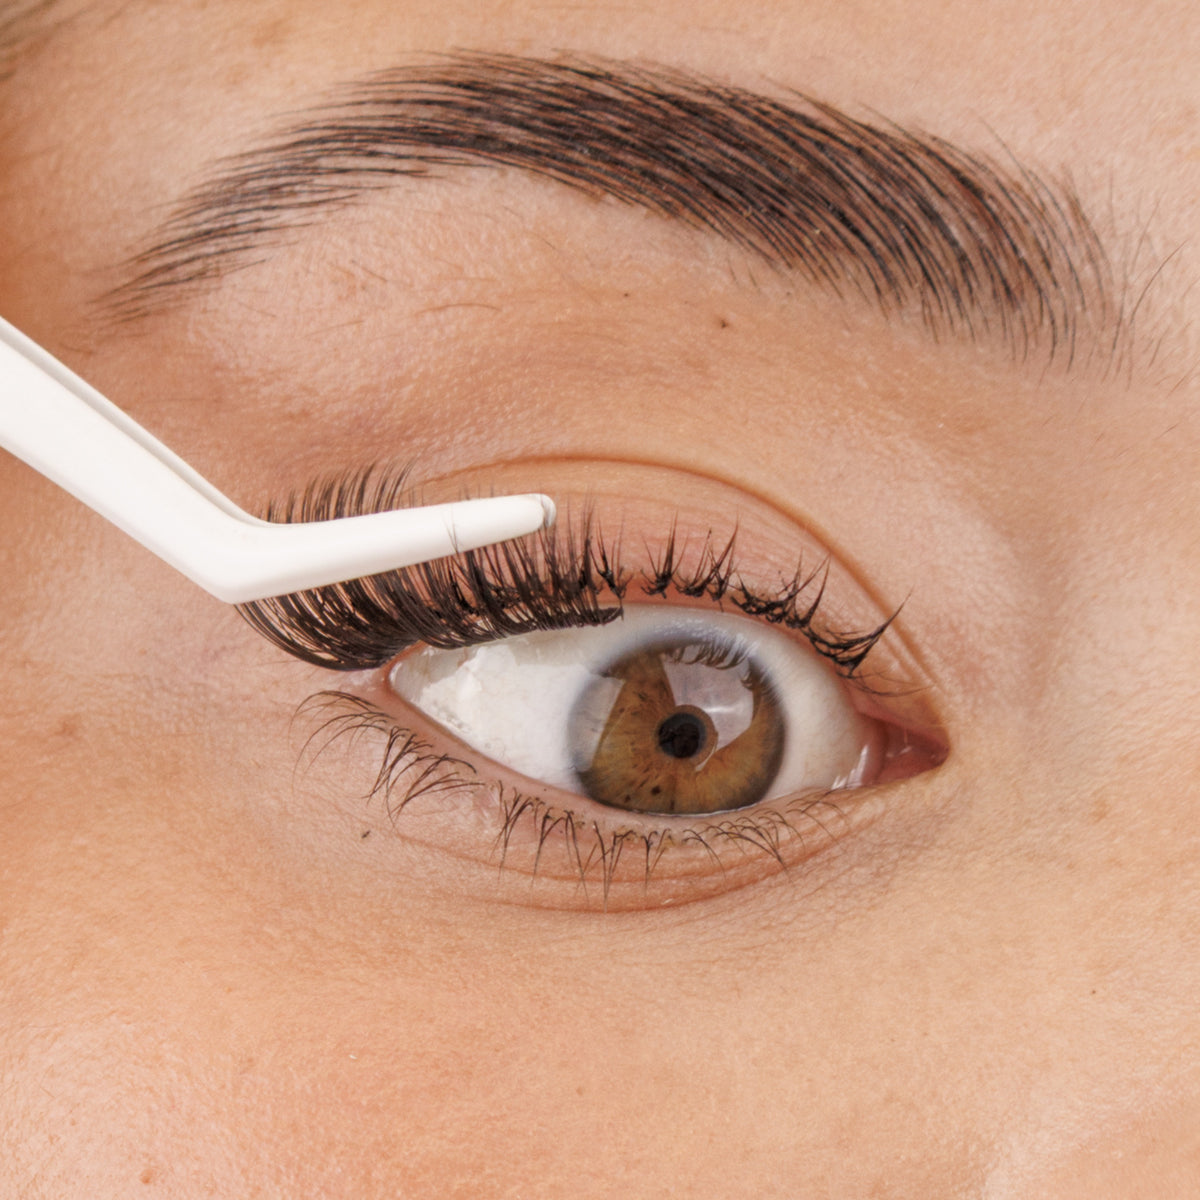
apply segment
Apply each segment under your lashes, overlapping slightly each time.
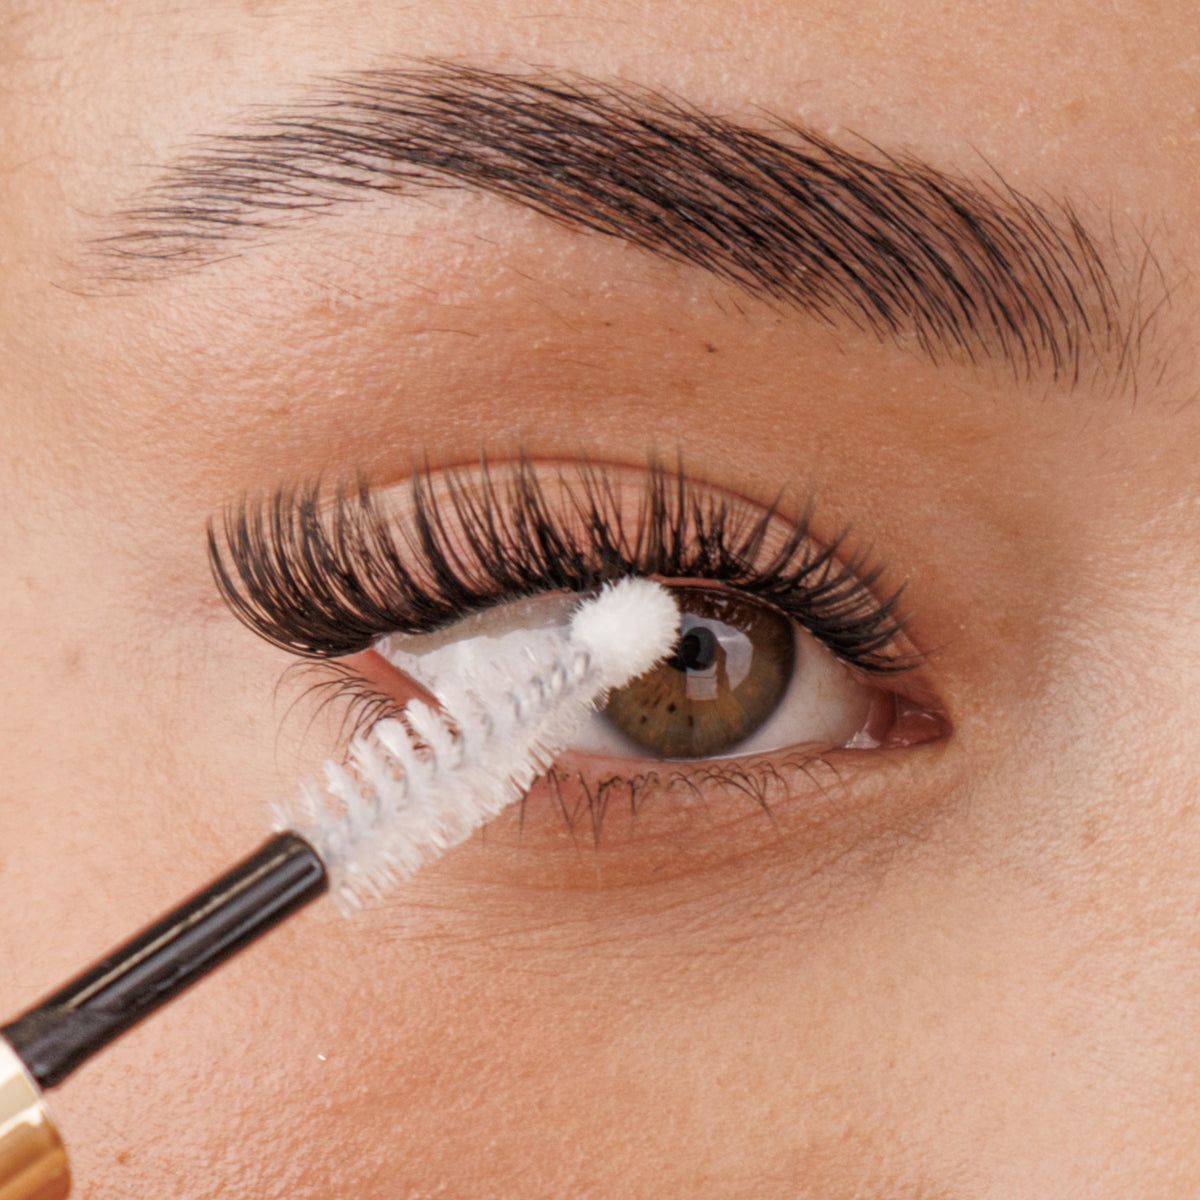
apply seal
Finish off with applying sealant to the base of the lashes, this locks the lashes into place.
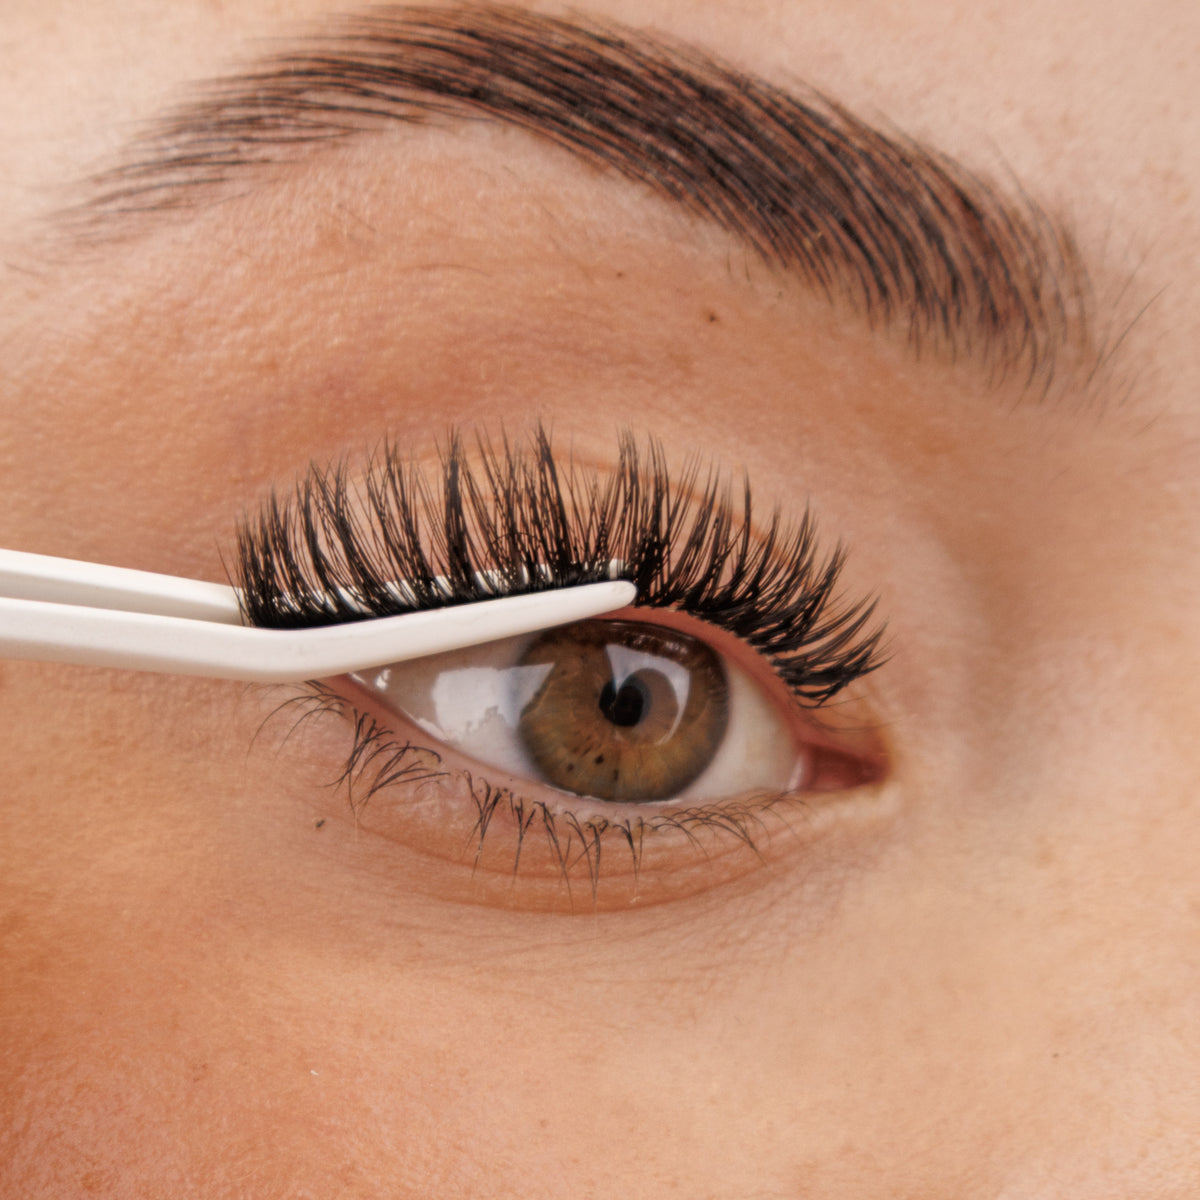
Pinch
Once happy with the placement, clamp into place using our non-stick tweezer.
This is my first time using these lashes and they are just perfect! Takes a little to get used to the application, but once you have it it's even easier the second time. Beautiful, elegant and definitely classy! Even after a deep night's sleep they are still well intact in the morning. I've even been on holiday and doing all sorts of activities like snorkeling and climbing trails in the 34° heat and they don't budge!
I'll be looking to get some more styles to add to my collection soon


This product is absolute gold. Easy to apply after watching the videos on tiktok. As a first timer it took me about 5 mins each eye. Have recommended to numerous friends, looks amazing! ❤
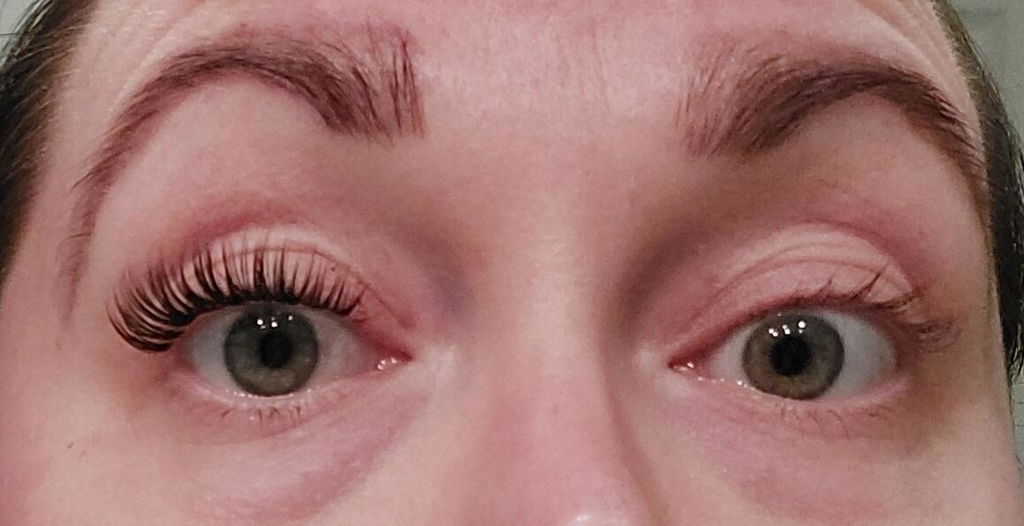
I’ve only recently started wearing lashes and I felt this kit was really nice quality and it’s all I wanted, once you get used to putting them on they are very pretty and you get a really good choice of lashes, it’s also really great to be able to clean them up and reuse them such good value for money, I see no need to try any other kind of lashes other than these, love them, thanks so much 🫶🏻🎀
These are a game changer! No more lash lifts and tints for me. These are now my go to for feeling put together. They lasted so well and looked incredible. I had so many compliments. Thank you, iLash!
I’ve never been great at applying lashes, they end up down my eyes. But these are a game changer, so easy to apply, they lasted 4 nights, easily taken off and even managed to reapply them. Will definitely be ordering more.
After buying a starter kit I have continued to buy lashes from ilash and they are the only ones I use. Previously I tried several other companies but ilash surpasses them all. My go to lash is Desire and o always get compliments. I have washed, dried using the cleaning kit and used the same segments over and over again. They last for ages. Brilliant company, highly recommend them.
I have uses this product a few times and it never disappoints
I bought the starter kit and some lashes during the sale for the rebrand. I usually wear strip lashes. Was going on holiday and honestly I’m amazed!!! Showered, swam, makeup, stayed on! When I took them off day 5 it wasn’t because they were falling off. I’m converted!!! AND. My own lashes weren’t destroyed either. Brilliant
.
Best Lashs ever and very easy to apply I get 6days before re applying
After years of having eyelash extensions I have switched to ilash pre cut segments & I am so glad I did! They are easy to apply & remove & I still get the full lash look as I did previously with extensions. The glue doesn't sting & lasts for 5 days on me. Really pleased! X
Easiest set to use
I have followed step by step instructions but lashes lasted only 3 days well on day 3 I have woken up already without them
Really lovely lashes and seem good quality. Arrived in good time and nicely packaged. Unfortunately i can't apply them after trying for nearly an hour. Will keep practicing in hope i can wear them one day
They do not stay on. I'm only getting a few hours wear.
iLash Pre-cut Segments Starter Kit (worth £49.99)
These false lashes are amazing! They look absolutely incredible and truly live up to the claims — they lasted me over a week without any issues. I’ve had so many compliments, with people even asking which lash technician I’d been to. Super natural yet glam, and such great value compared to salon extensions. Highly recommend!
These lashes are amazing. I’m not good at putting lashes on usually but after applying my second pair they were on perfectly. I have had compliments on them and had friends asking for the link to purchasing them.
Please don’t stop making these-absolutely fabulous
I’m afraid I didn’t find these lashes at all easy to do and got a sore eye after attempting to add them four times. One eye would not stick and I followed all of the very helpful tutorials. Unfortunately for me this was £40 not very well spent and have had to throw them away :(
I thought these wouldn’t look good on me . I was so wrong I loved them they gave me so much confidence . They made me so happy.
Didn't not last more than a day
Daughter very happy with them but just said a little bit messy. But they look beautiful and im sure she will get the hang of it
Been a strip lash gurl for many years (under eyelashes) and I cannot get on with these.
I have never worn lashes before. I'd seen them on a friend and wanted to try them myself. Apart from my own cackhandedness they are quite easy to apply and I will definitely be ordering some more very soon.
they are really good and easy but unsure if i am applying correctly as the bond seems to not keep the eyelashes on for long but they look amazing on
I recently had my lash extensions removed after having them for 18 months with 3 weekly infills. I still wanted the confidence of gorgeous lashes without harming my natural lashes. ilash classic lashes are perfect, easy to apply and remove without damaging my natural lashes, I love them, thank you ilash 😍
Love the lashes, super easy.
Customer service very quick and efficient too when parcel was misplaced. Will be buying from iLash again!
Had so many compliments! Love them!
The set is fab and has everything you need to do your own lashes at home. I’ve used another brand in the past but these lashes are so much better quality! They easily lasted the week with no issues. Will definitely be buying more!
Was so looking forward to trying these as a first timer.
Unfortunately the sealant was missing from the box & customer services have ignored my message which I sent from their website.
Not a good start, hence 1 star.
Tried for the first time and very impressed, was easier than thought as always have trouble with strip lashes, have put in another orde
complete your ilash routine






Why choose ilash?
At iLashuk, we believe beauty should be effortless, safe, and kind.
Our DIY lash extensions give you the same salon-quality look, without the time, cost, or damage.
Every product is thoroughly tested to meet strict cosmetic regulations, so you can feel confident knowing what you’re using is gentle, high-performing, and safe for your eyes.
We’re proud to be a cruelty-free brand, approved by PETA. No animal testing, ever.
Our lashes are lightweight, soft, and designed with an ultra-thin band that blends seamlessly into your natural lash line.
You’ll forget you’re even wearing them, but you’ll never forget how they make you feel.
This is beauty on your terms. No appointments. No compromises.

Free delivery over 60

As seen in vogue

OVER 1000+ 5★ reviews

waterproof & sweatproof