Skip to content

Cart

Your cart is empty

Pre-Mapped Lashes

Also known as segment lashes, these individual lash pieces let you customize your look with perfect control. Effortless to apply, they give natural everyday volume or dramatic glam in minutes.

Sort by

7 products

Filters

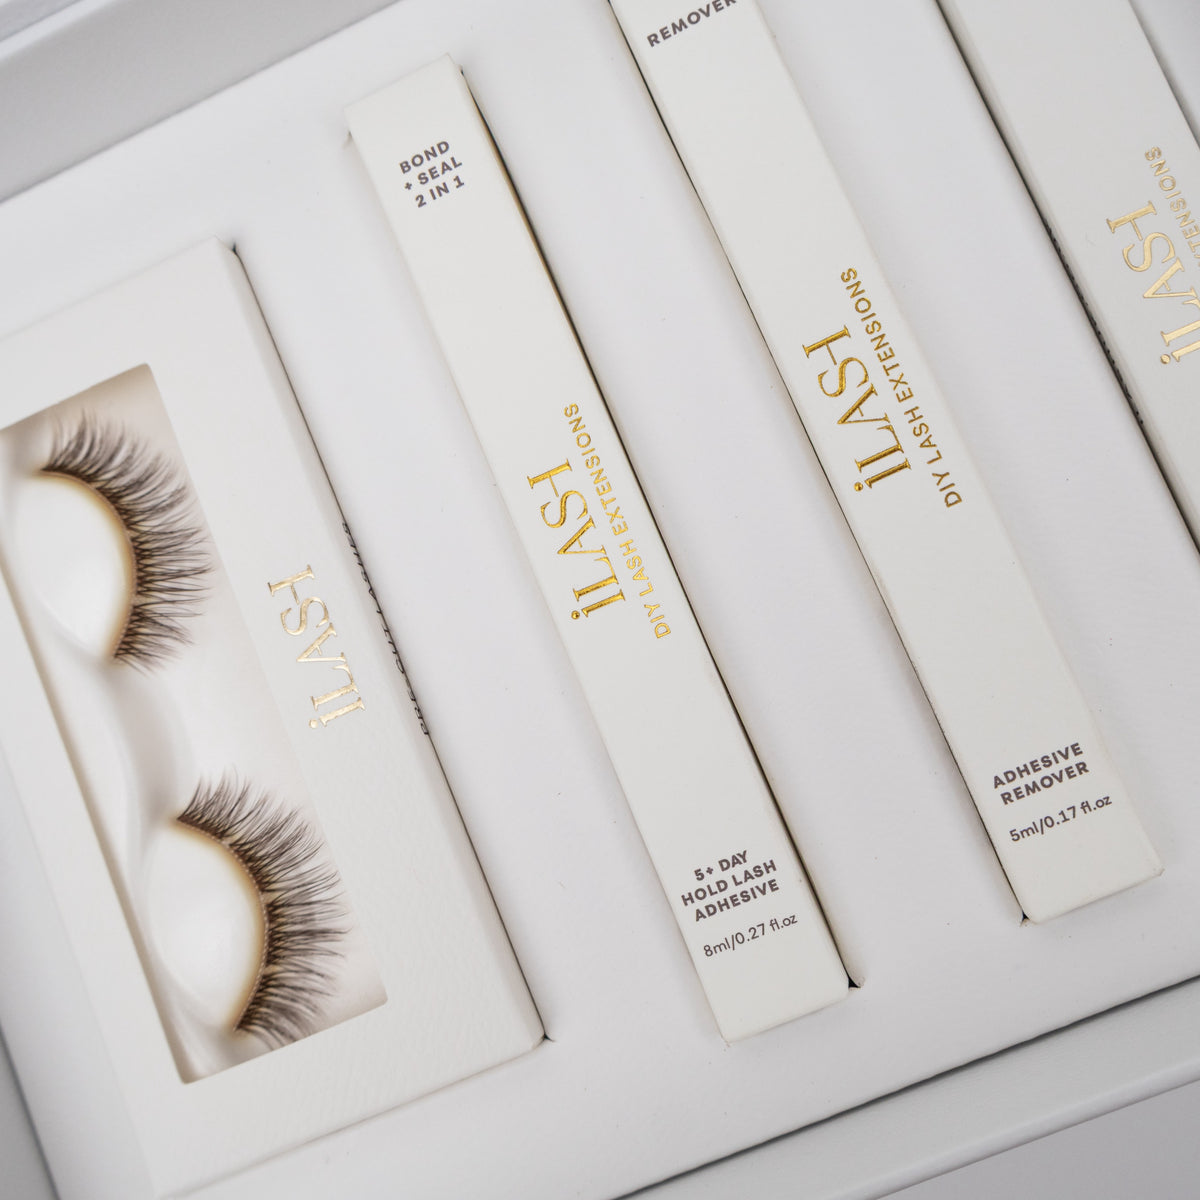
BESTSELLERPre-Mapped Segment DIY Lash Starter Kit
(4.4)
Pre-Mapped Segment DIY Lash Starter Kit

Everything you need

Sale price£40.00
The Classy One Pre-Mapped Lashes
(5.0)
Pre-Mapped Lashes

Bond and Seal Needed

Sale price£10.00
Worth £50iLash Subscription
(4.8)
iLash Subscription

One Box • 5 Pairs • 30% Saving

Sale price£35.00 Regular price£50.00
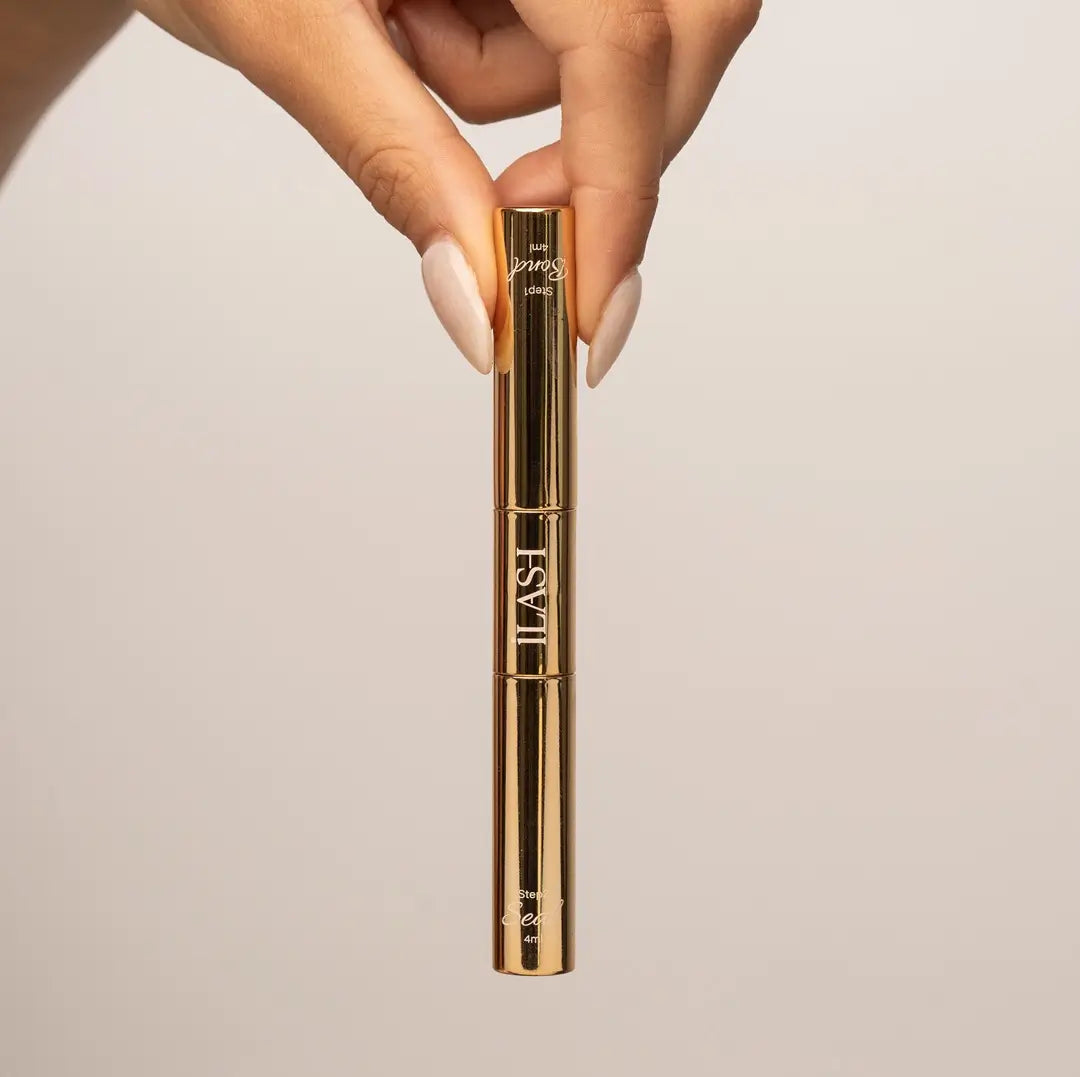
Bond & Seal 2-in-1 Applicator
(4.7)
Bond & Seal 2-in-1 Applicator

One tube • Two essential steps

Sale price£15.00
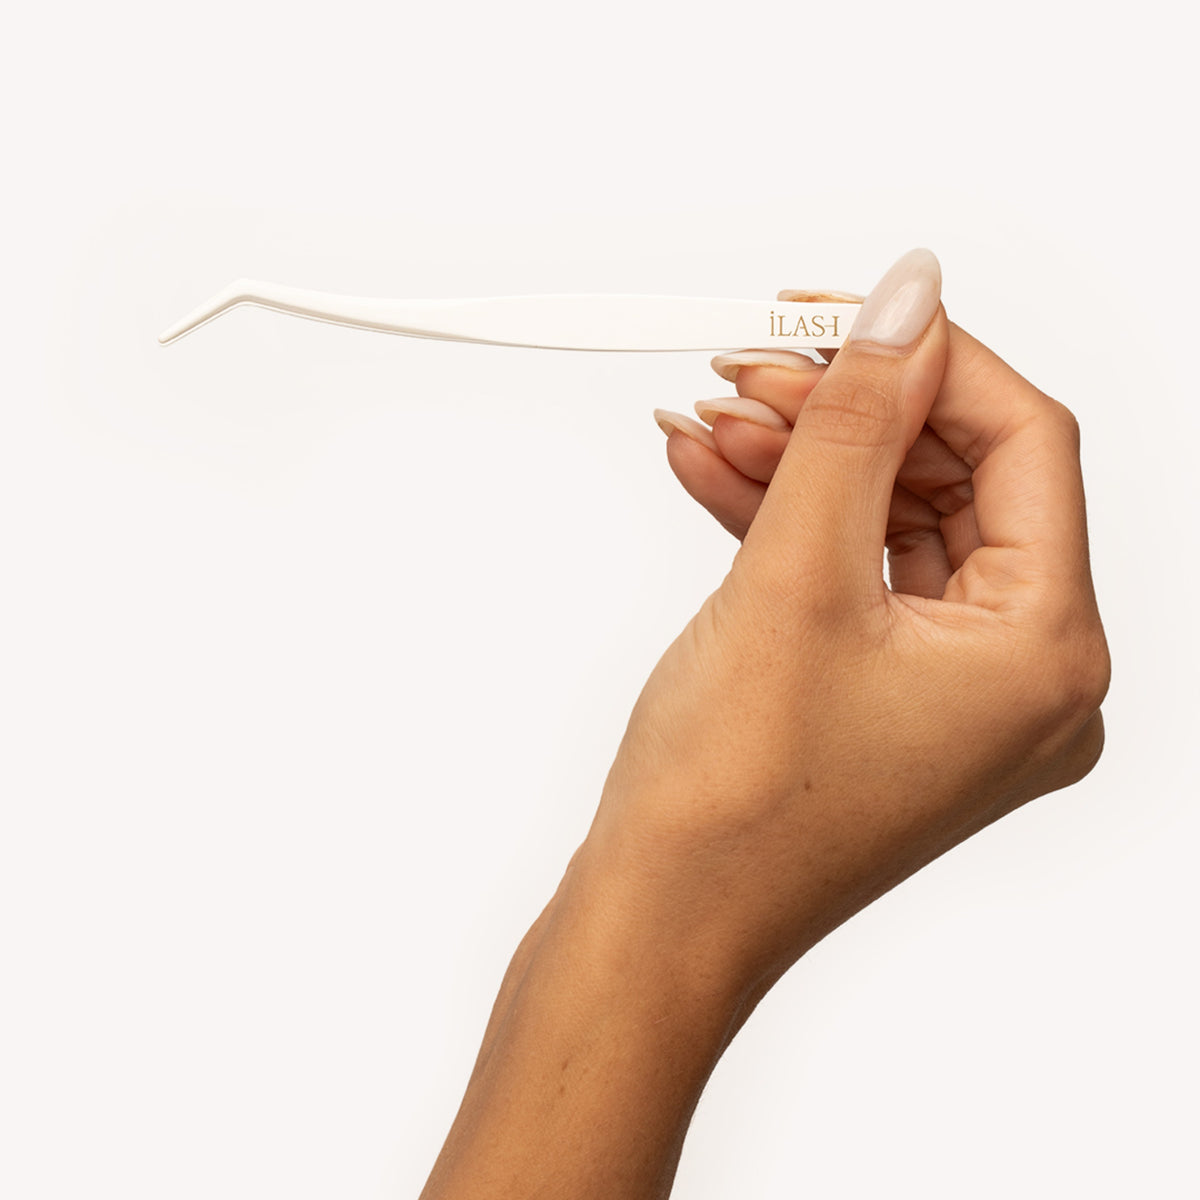
Non Stick Application Tweezer
(4.8)
Non Stick Application Tweezer

Non Stick • No Stress  

Sale price£8.00
Remover Serum Vitamin E & Castor Oil
(4.6)
Remover Serum Vitamin E & Castor Oil

Gently removes • Deeply nourishes

Sale price£12.00
New InLash Adhesive Tape
(3.4)
Lash Adhesive Tape

Pre Glued Tabs

Sale price£10.00

PRE-CUT & PRE-MAPPED

No trimming or lash mapping needed.

SALON-STYLE LASHES

Beautiful DIY lash extensions at home.

Up To 5-7+ Day Wear

Long-lasting lashes without the salon.

PRE-CUT & PRE-MAPPED

No trimming or lash mapping needed.

SALON-STYLE LASHES

Beautiful DIY lash extensions at home.

Up To 5-7+ Day Wear

Long-lasting lashes without the salon.

What Are Pre-Mapped Lashes?

Pre-Mapped Lashes are pre-cut DIY lash extensions with the lash lengths already mapped out for you, so there's no need to trim, measure or create your own lash map. iLash Pre-Mapped Lashes are applied underneath your natural lashes using Bond & Seal for a seamless, salon-style finish that can last up to 7 days.

They're an easy way to achieve professional-looking lash extensions at home without salon appointments. Choose from natural, wispy, cat-eye and fluffy volume styles to suit your preferred look.

How to apply pre-mapped lashes

  1. Start with clean, dry, oil-free natural lashes.
  2. Apply a thin layer of iLash Bond to your natural lashes, following the product instructions.
  3. Using a non-stick application tweezer, place each pre-cut lash segment underneath your natural lashes, approximately 1–2mm away from the waterline.
  4. Gently press your natural lashes and the lash segments together to secure.
  5. Finish by applying iLash Seal according to the instructions to complete your lash look.

Which pre-mapped lashes should I choose?

The Classy One and Flawless are ideal for an everyday, natural-looking finish. Flirty and Girl Next Door offer beautiful wispy styles, while Showstopper and Krazy In Love are perfect for a fuller, more glamorous lash look.

New to DIY lash extensions? Our Pre-Mapped Starter Kit includes the essentials to get started. Prefer lashes without separate adhesive? Explore our Pre-Glued Lashes, with adhesive already applied for quick and easy application.

Pre-Mapped Lashes FAQs