


Your guide to lash Like a Pro
-
 1
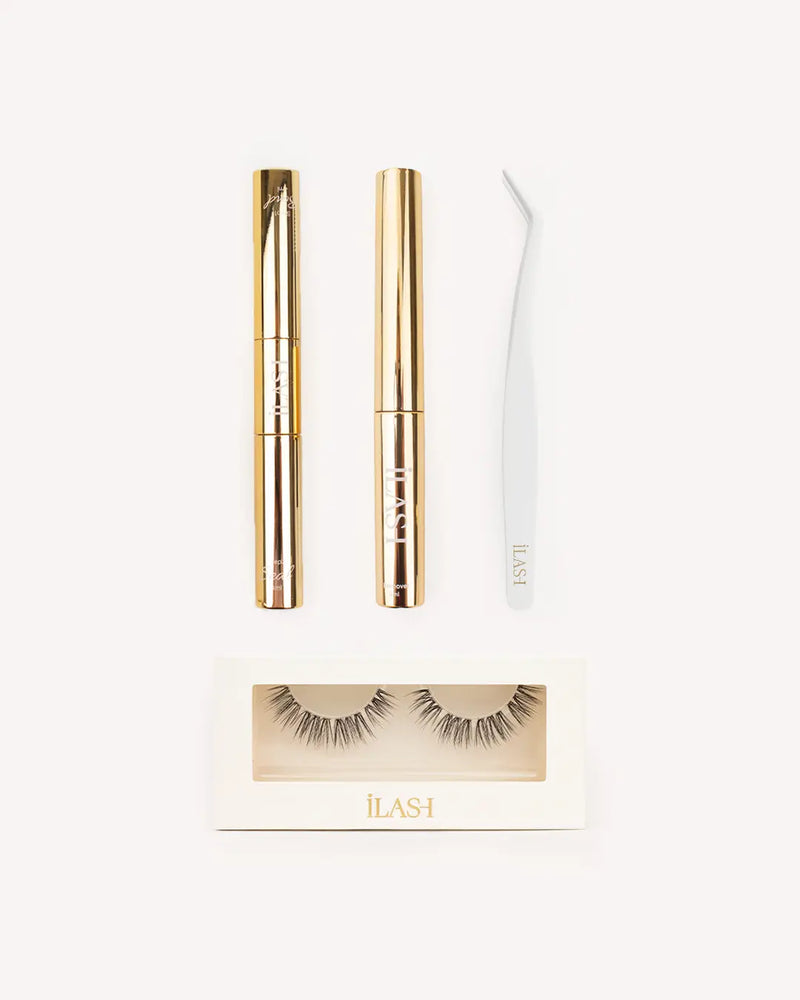
1Step 1: Apply Bond
Scrape off any excess bond so you don’t apply too much. Use it sparingly along your lash line, just above the waterline. Avoid applying it like mascara or overloading the lashes.
-
 2
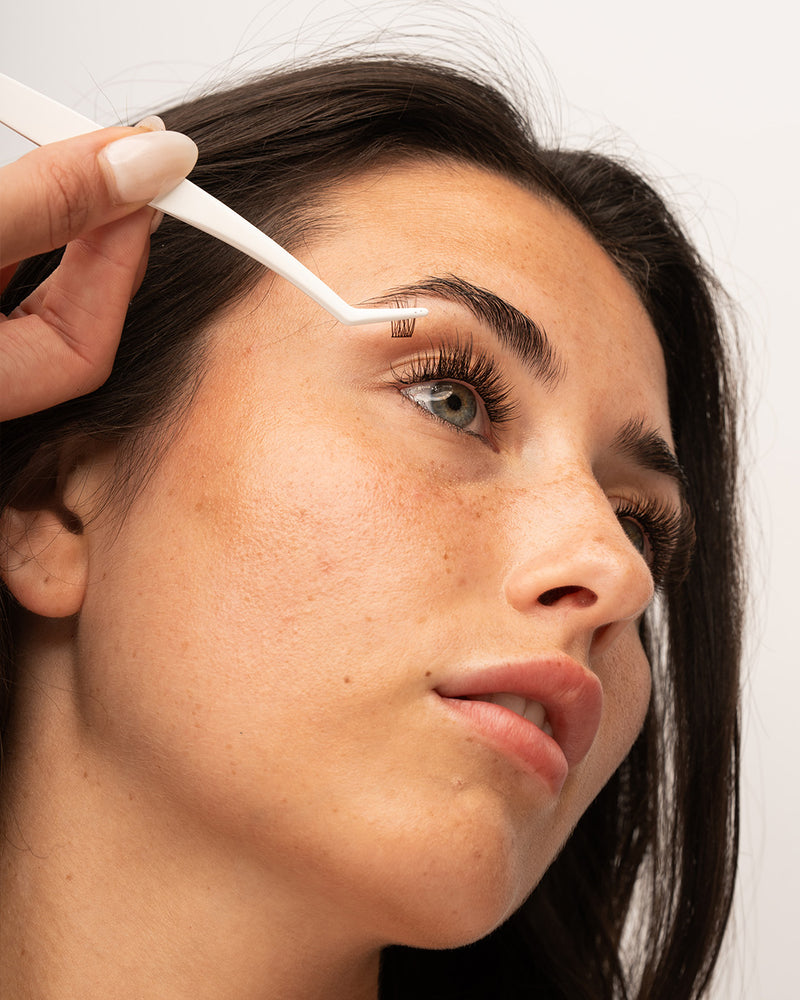
2Step 2: Apply Segments
Apply each segment under your natural lashes, starting at the inner corner. Go in under your lashes and hook up, slightly overlapping for a seamless look. Keep your waterline visible and adjust until each segment sits perfectly.
-
 3
3Step 3: Apply Seal
Once you’re happy with the placement (you can adjust and reapply segments if needed), glide the seal underneath your lashes along the lash line. This locks the lashes in place and removes any tackiness.
-
 4
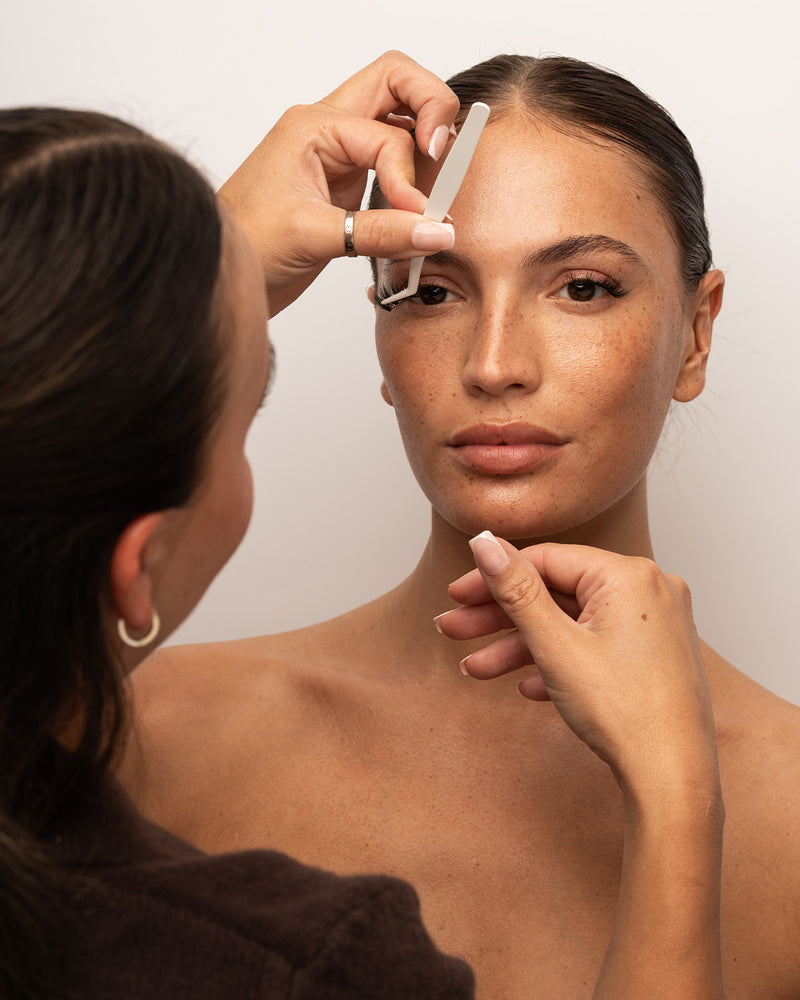
4Step 4: Pinch & Set
Gently clamp your natural lashes and the segments together, holding for 10 seconds. Make sure each segment is secured. For extra hold, apply a small amount of seal to your tweezers before clamping to achieve a secure finish.


