


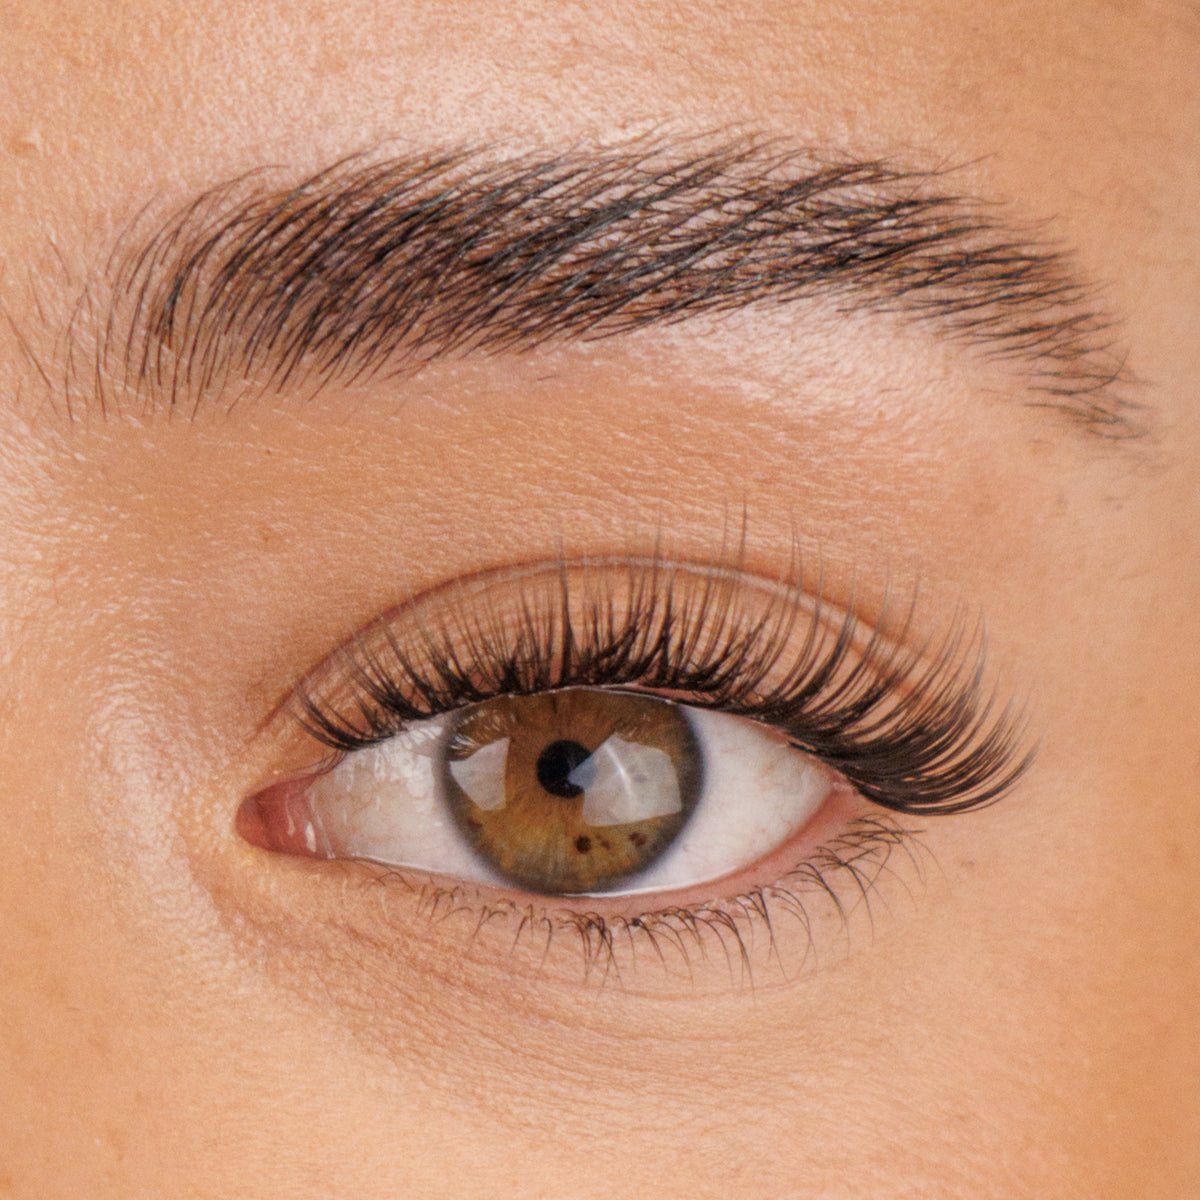
The Classy One Pre-Mapped Lashes
LASH: Classy One


- In stock
- Free delivery over £60
Notify me when it's back
or 3 payments of £3.34 with Klarna.
Min order £30. 18+, T&Cs apply, credit subject to status.
DESCRIPTION
The Classy One Pre-Mapped Lashes create a soft, classic lash-extension effect with natural-looking length and delicate definition. Designed for effortless DIY lash extensions at home, every pair arrives pre-cut and pre-mapped, so there is no measuring, trimming or choosing individual lash lengths.
Each box contains eight pre-cut lash segments, four for each eye, arranged in a graduated 10–14mm lash map. Simply apply the segments underneath your natural lashes in their pre-planned order using iLash Bond & Seal, then pinch them together for a seamless, salon-inspired finish.
The lightweight D Curl fibres create an elegant individual-lash effect that enhances your eyes without looking overly full or dramatic. The Classy One is ideal for beginners, classic lash lovers and anyone wanting a polished everyday style that can also be worn for bridal looks, work, events or special occasions.
With correct application and aftercare, these pre-mapped DIY lash extensions can last for up to seven days. The segments can also be carefully cleaned and reused.
Pre-Cut • Pre-Mapped • Classic Individual-Lash Effect • 10-14mm • Black
WEAR TIME - Lasts up to 7 days paired with Bond & Seal
PACK CONTENTS - 1 pair (8 pre cut, pre mapped segments - no trimming needed)
WHY YOU'LL LOVE IT
HOW TO APPLY
SHIPPING & RETURNS
Choose options

hOW TO APPLY
Pre mapped
how to apply
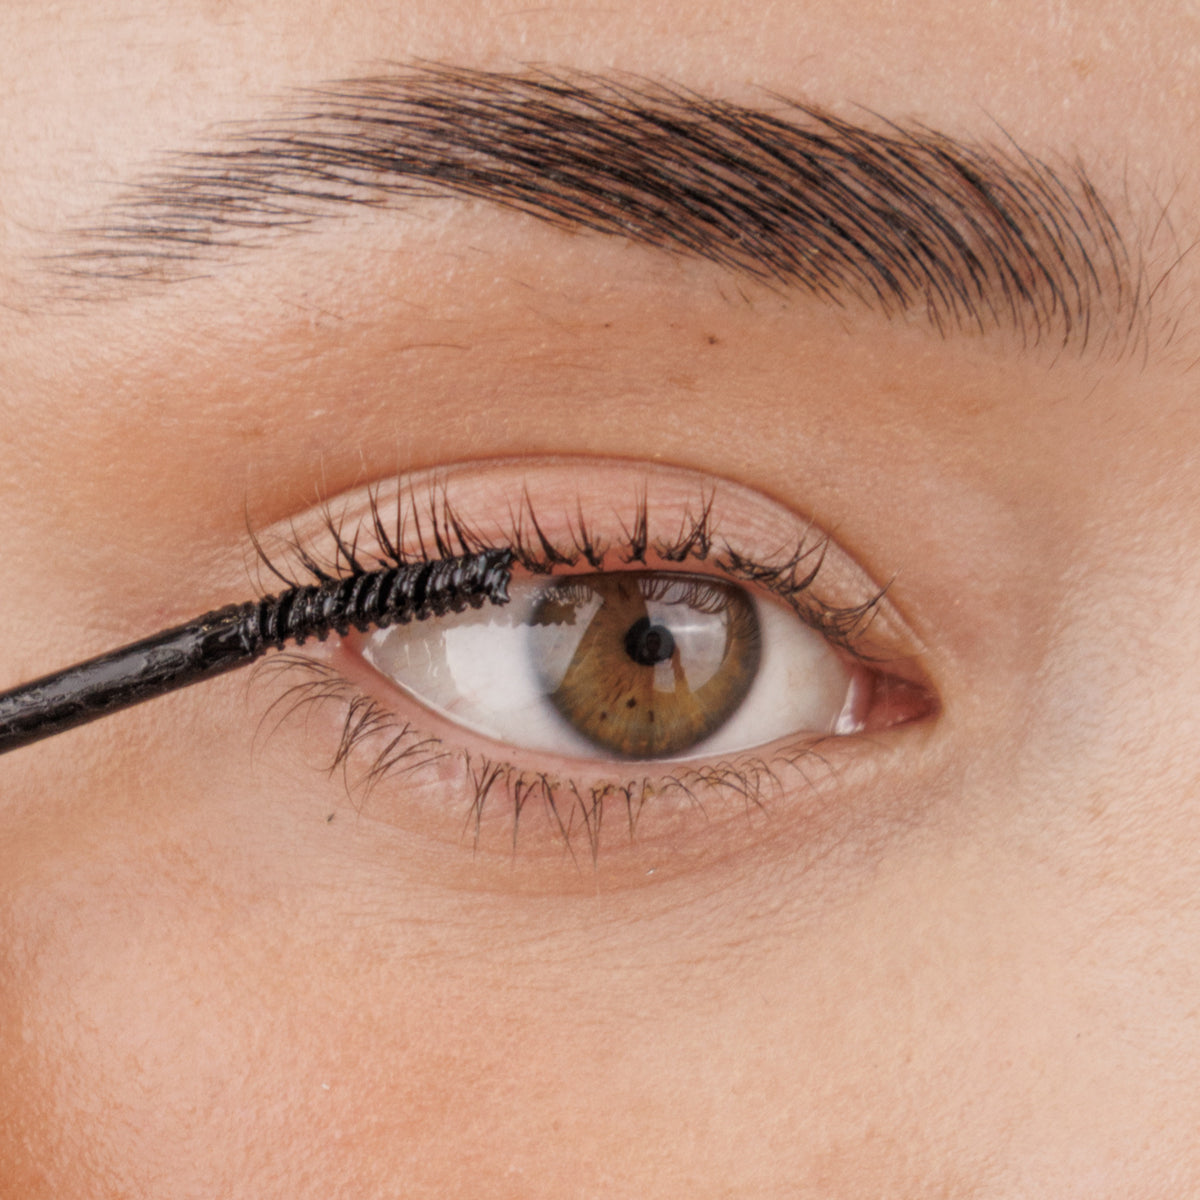
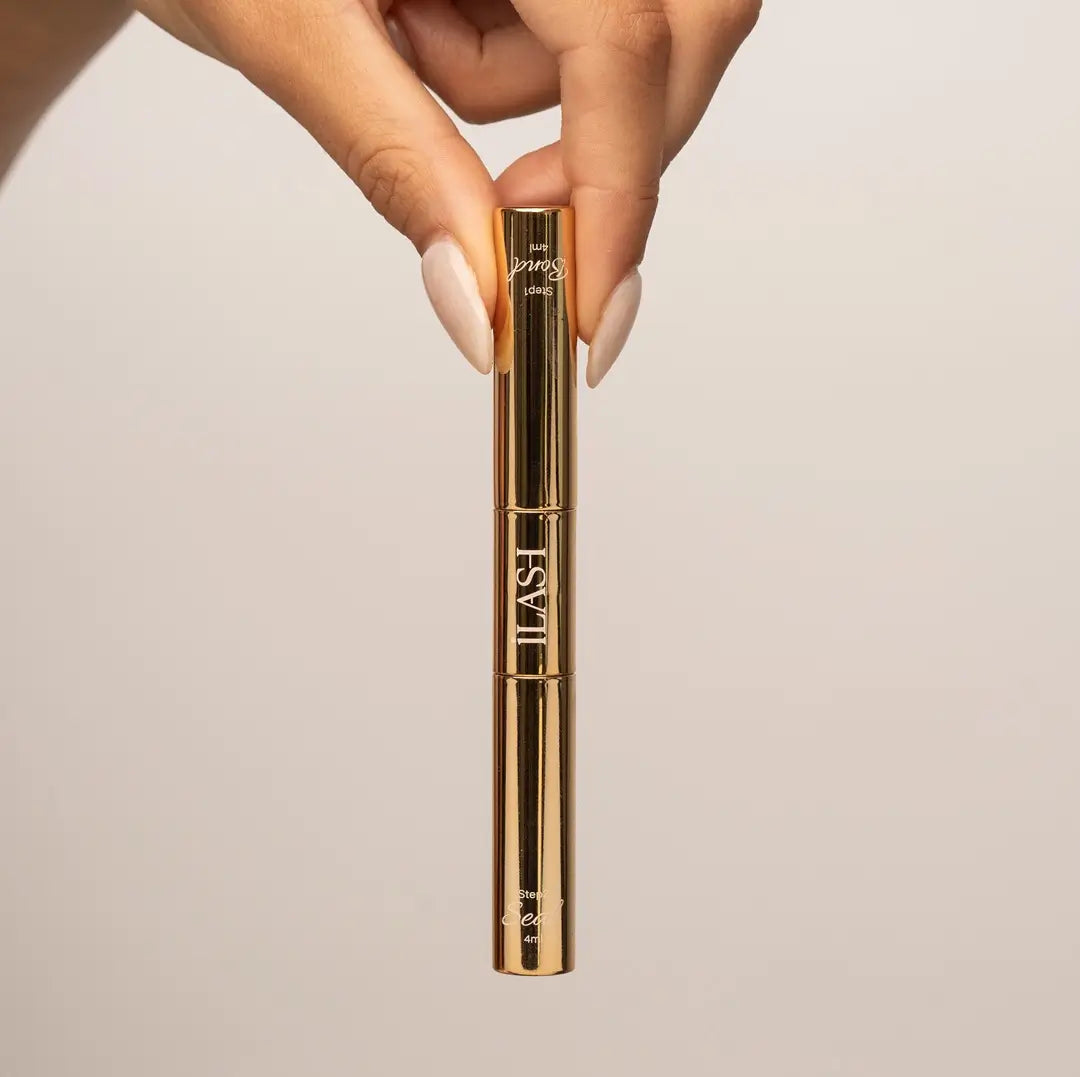
Apply Bond
Start with clean, dry, oil-free lashes. Remove excess bond from the brush, then apply a small amount underneath your natural lashes, close to the roots. Keep it off your skin and waterline, less is more, so avoid coating the full lash like mascara.
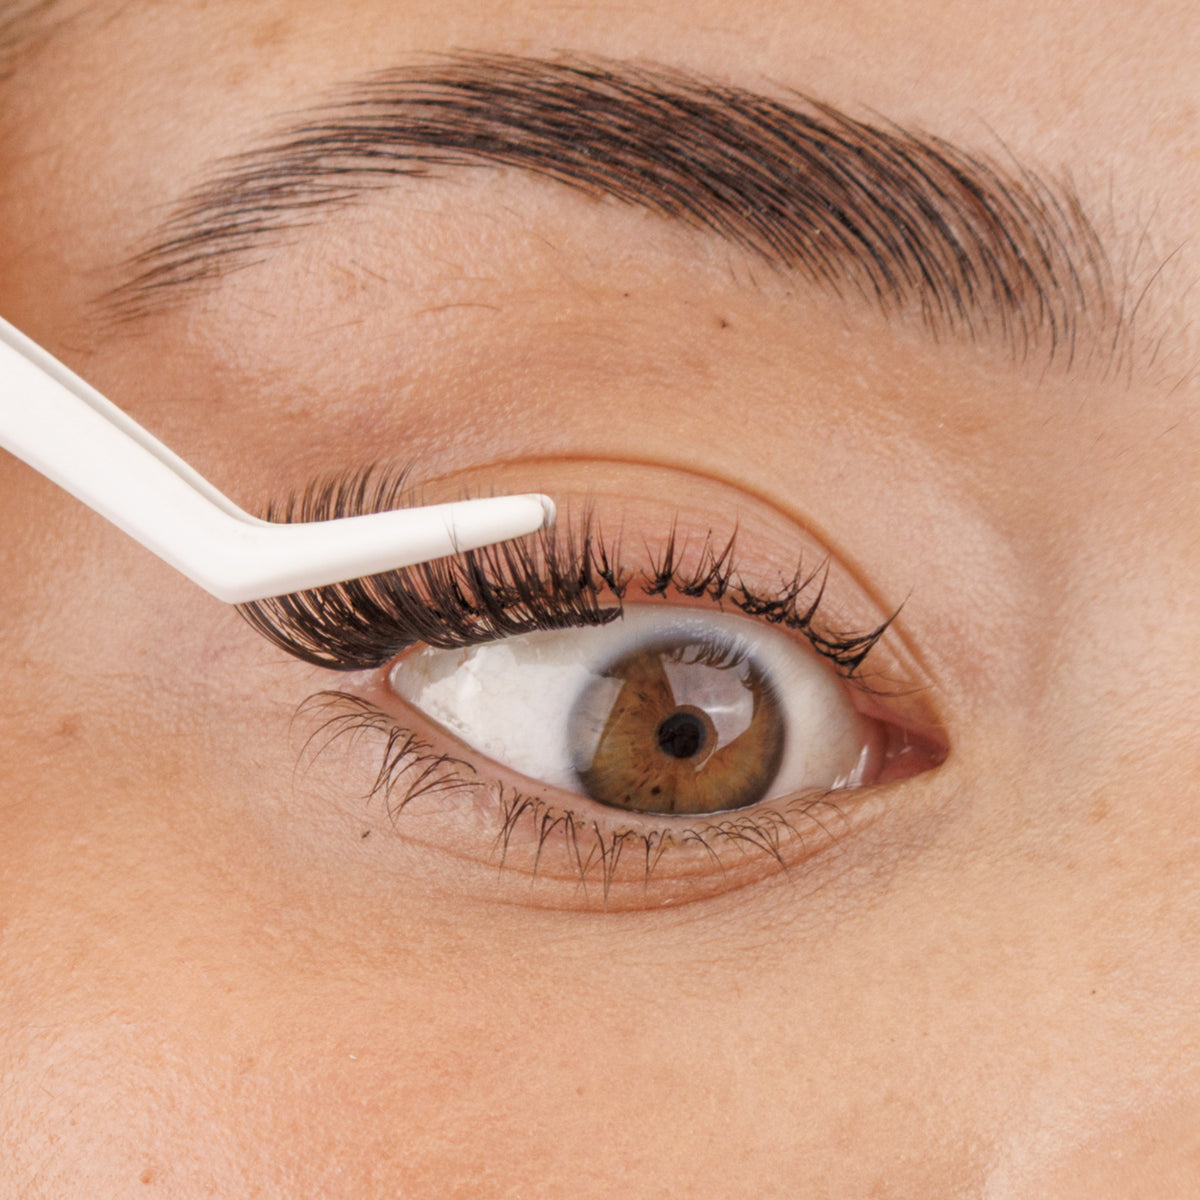
apply segment
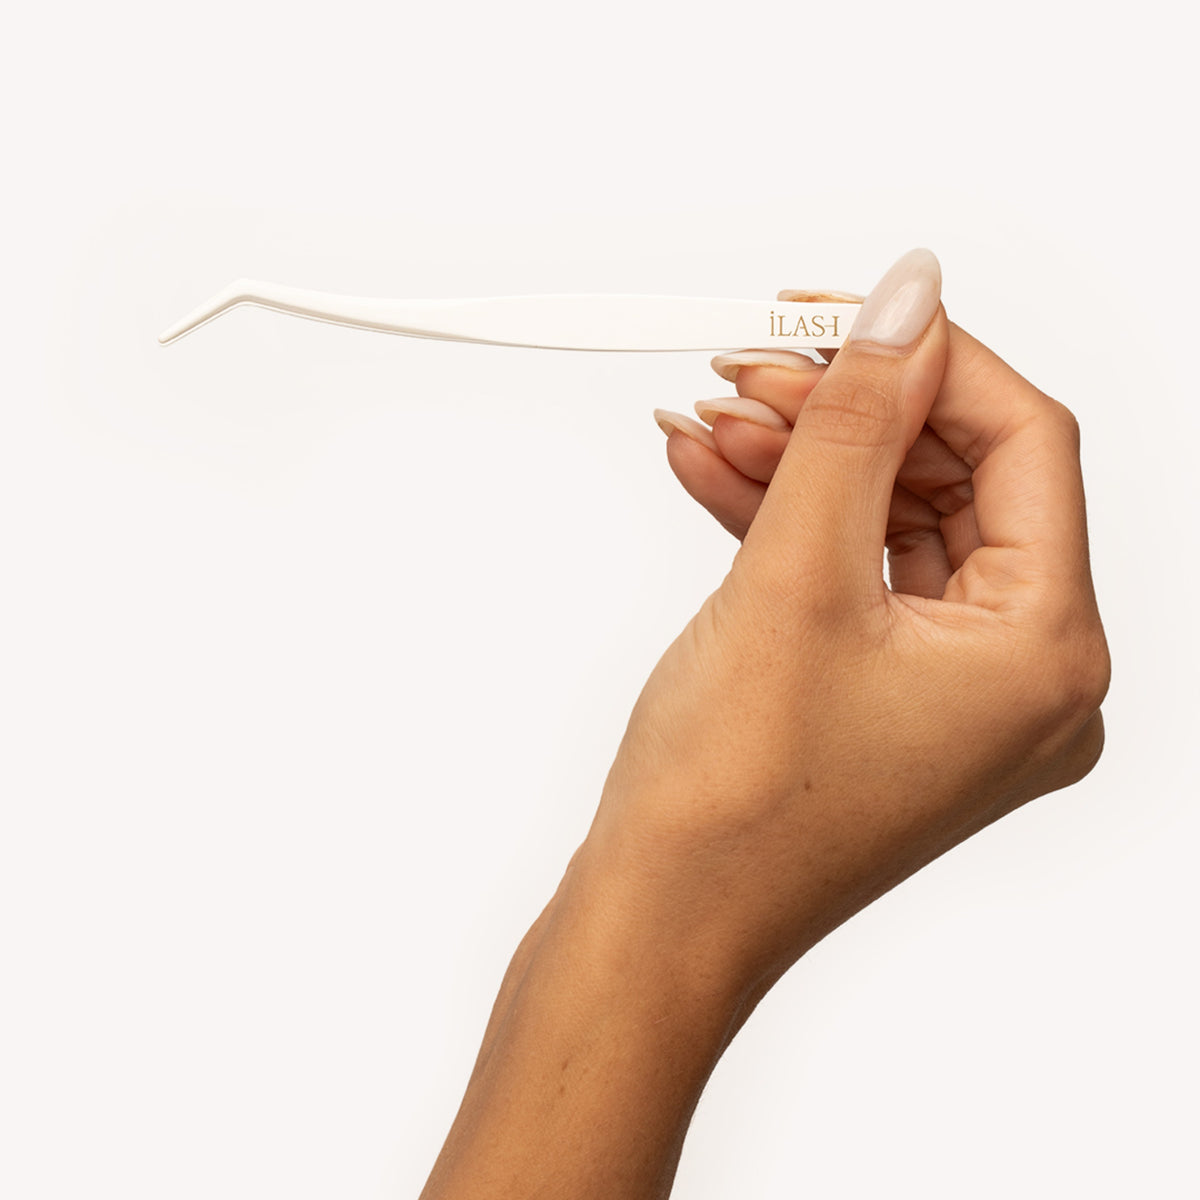
Hold each pre-cut segment at the centre with your tweezers and place underneath your natural lashes, starting at the inner corner. Gently lift into place and slightly overlap neighbouring segments for a seamless finish.
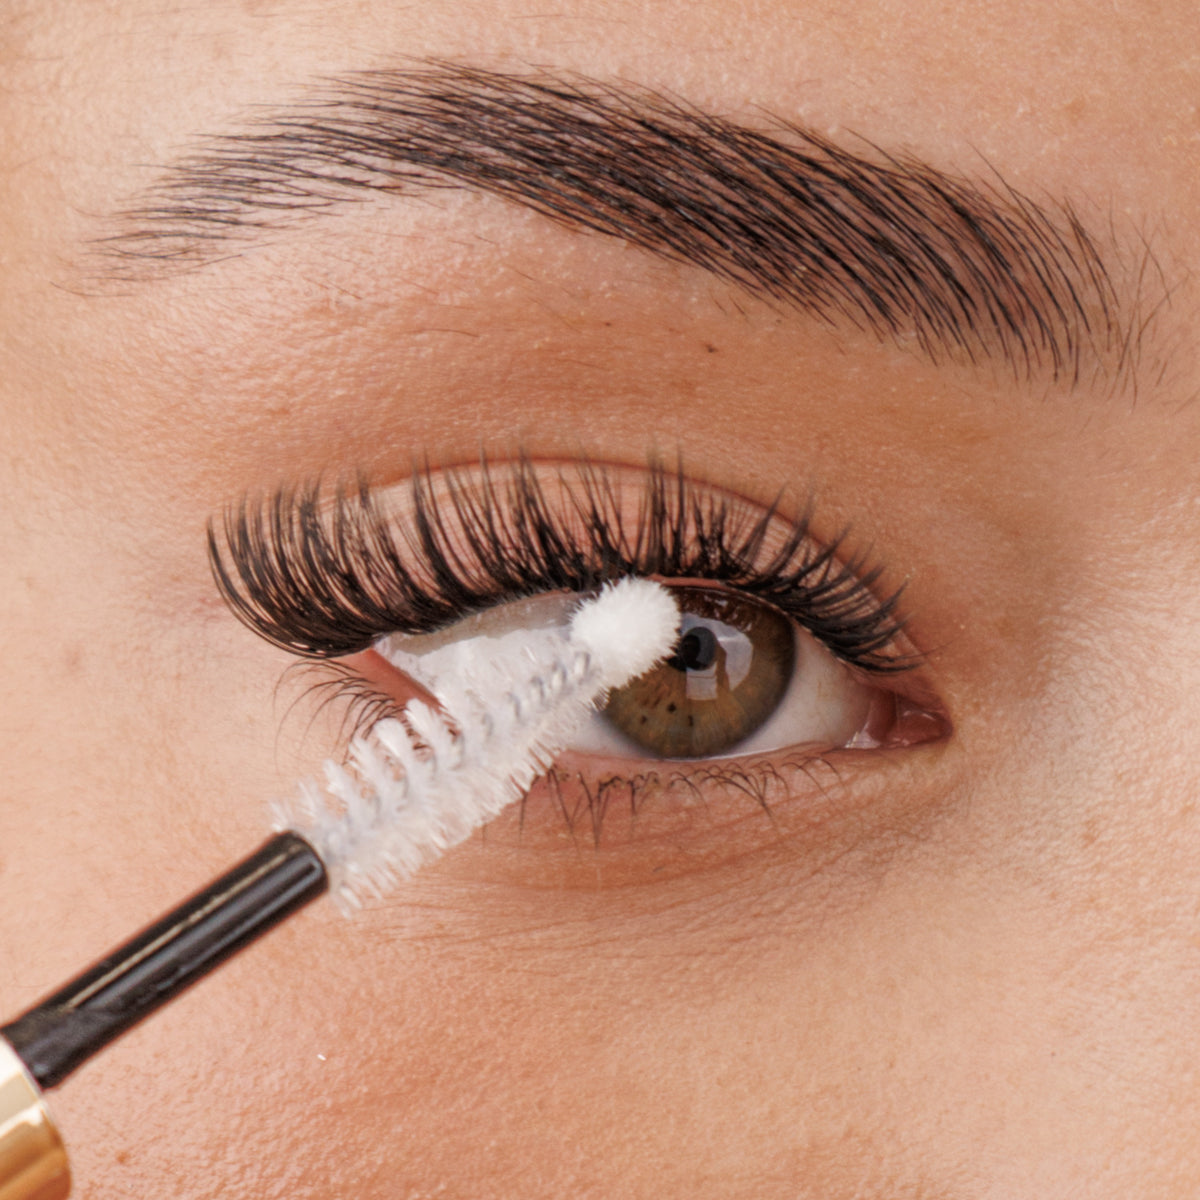
apply seal
Once you’re happy with the placement, glide a small amount of seal underneath the lashes along the bonded area. Seal removes tackiness and is essential for longer-lasting wear, don’t skip this step.
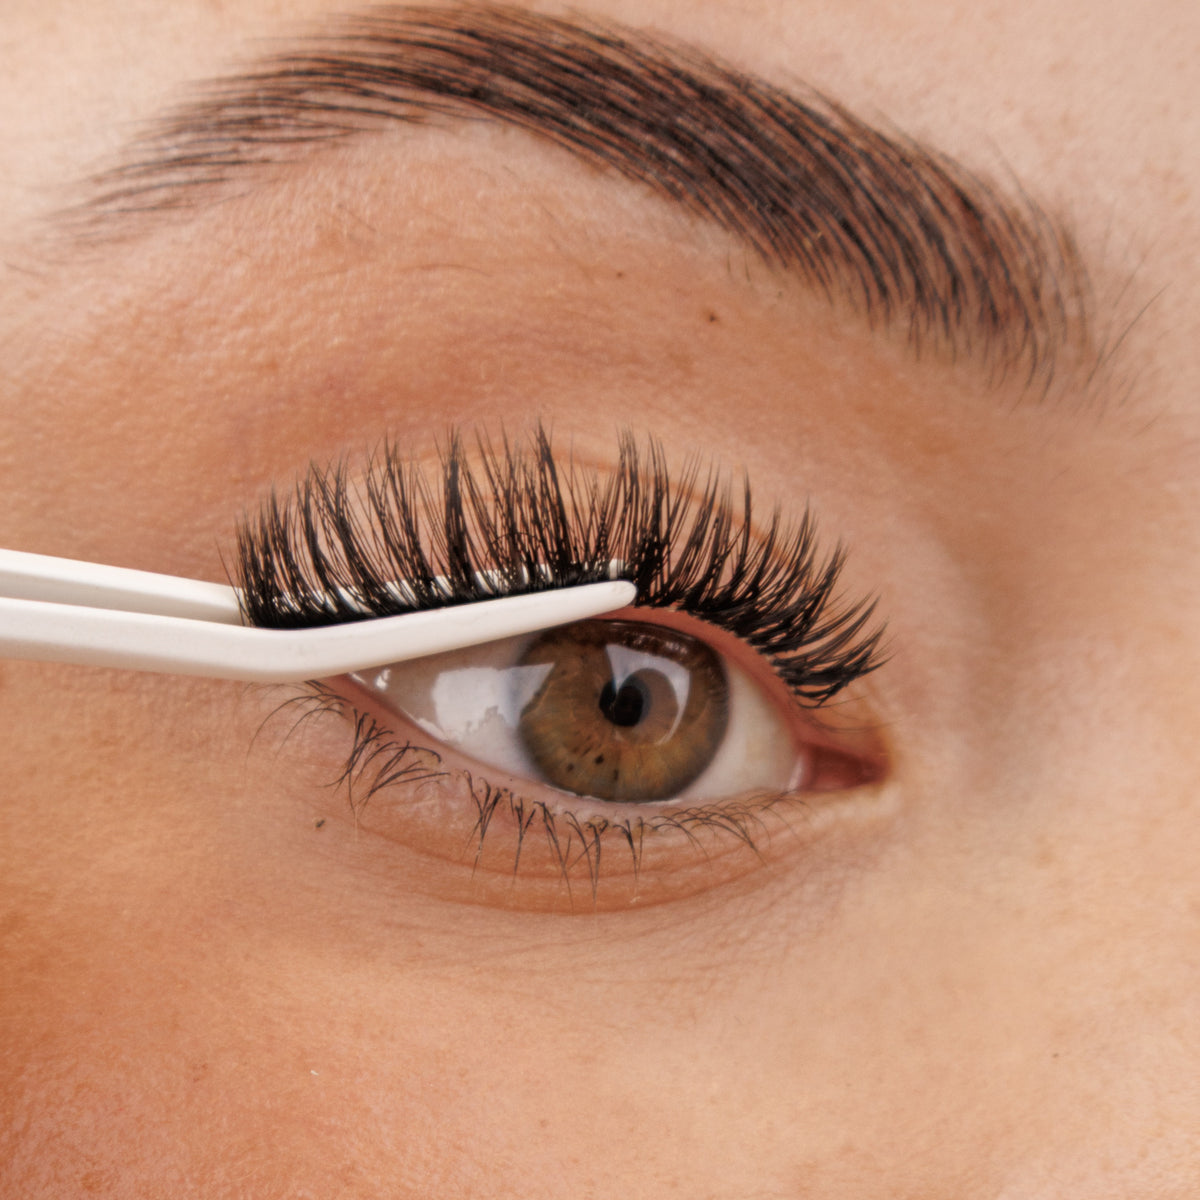
Pinch
Gently pinch your natural lashes and lash segments together with your applicator, holding each section for 10 seconds. Work across the lash line so every segment is secure. For extra hold, add a small amount of seal to the tweezer plates before pinching. Gently re-pinch daily if needed.
absolutely wonderful so natural and easy to apply at 60 years of age i have wonderful full natural lashes again !.
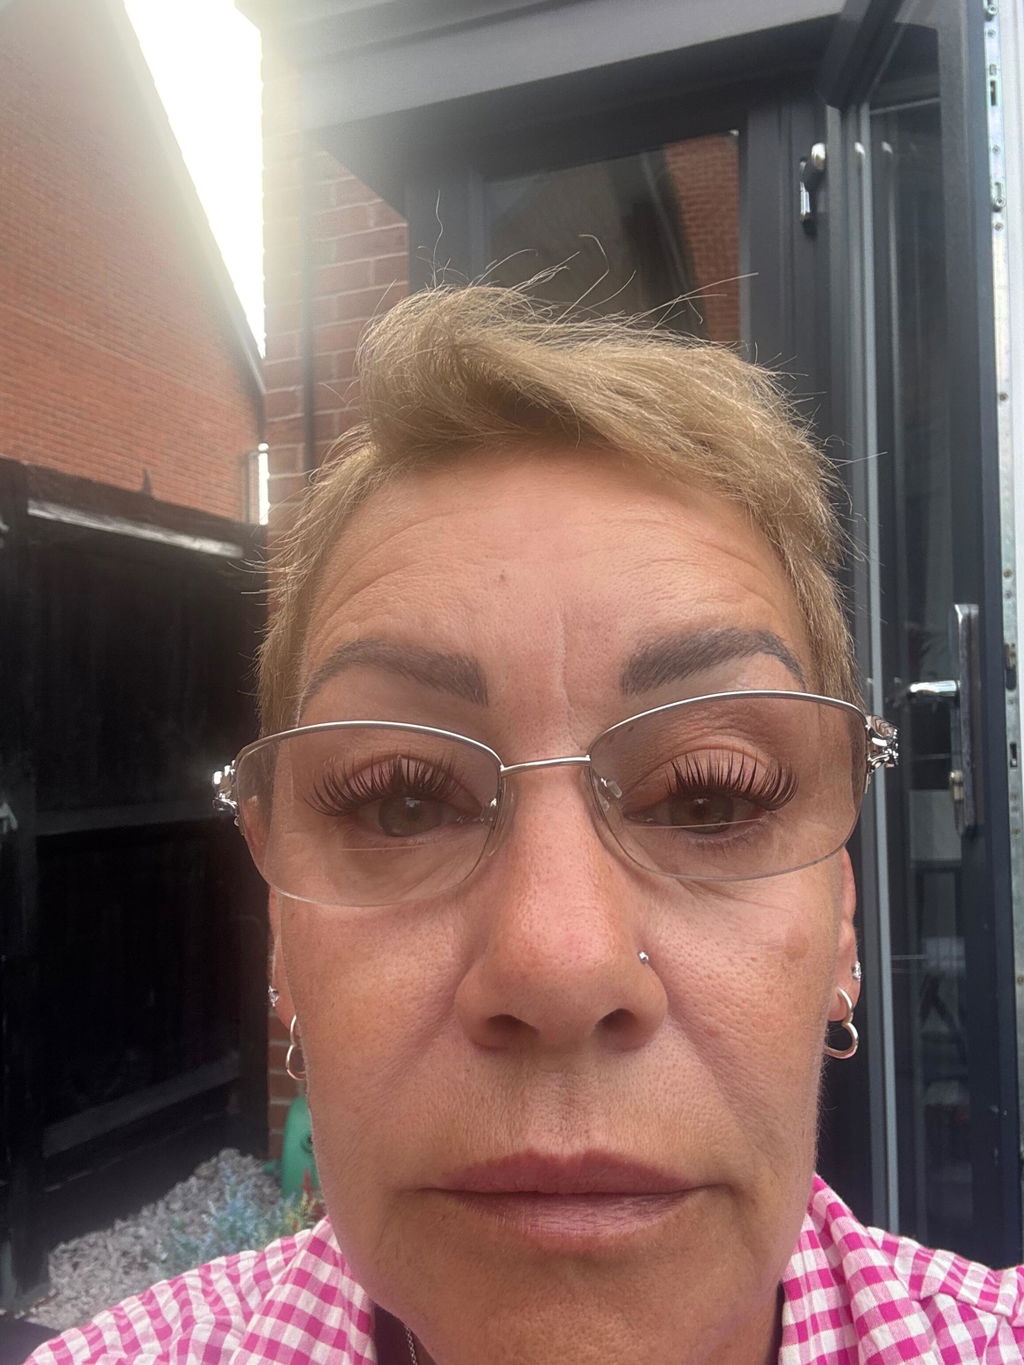
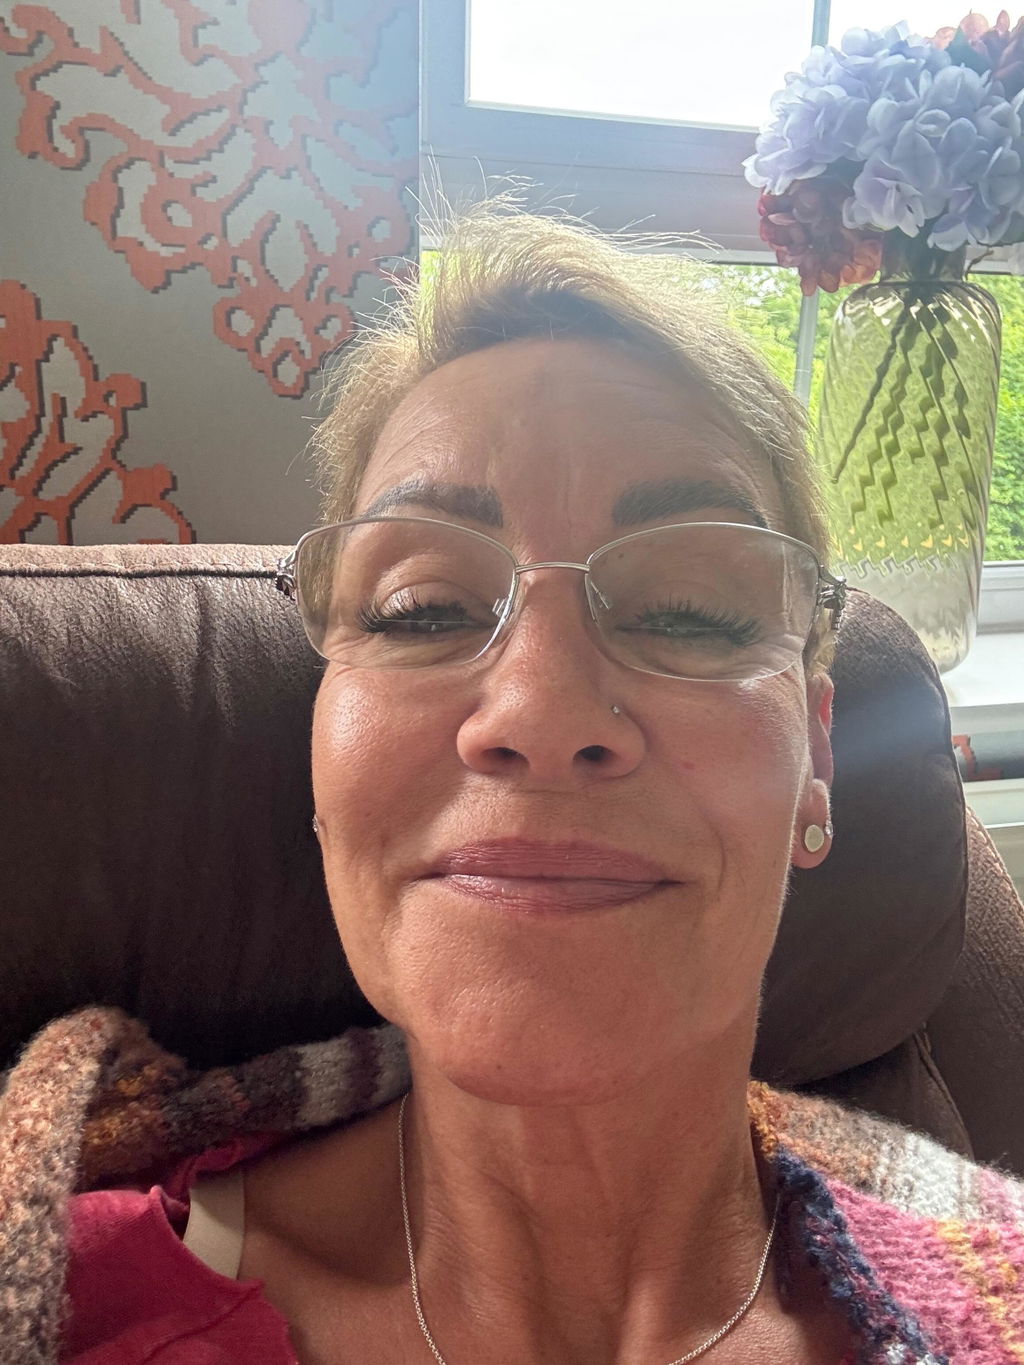
I fill and look like a gorgeous granny. You’re never too old to fill beautiful,
Thank youuuu😘
absolutely lovely
Amazing lashes
The Classy One Pre-Cut Lashes (14mm)
Love these lashes. So long and classy!
Love the lashes, like the fact I don't have to put them on every day, they do last 4- 5 days
These are a complete life changer, its kind to sensitive skin and eyes, easy to apply, use, remove and the cherry on top being its affordable and means I dont have to pay extortionate costs of going to a beauticians to have them done!!! You can have them as thick or as natural looking as you want, you can have them subtle for daytime and add an extra few lengths to have them thickened for a night look. I personally like to have them looking as natural as possible but like to have a bit of length to them so the whispy look is what I aim for, but the beauty of these products they can be tailored for everyones individual style!!!
100% recommend these products, I've recommended them to everyone and people are always surprised at the fact they have been done at home and so easily!
I have been wearing your eyelashes for so many years now and am constantly recommending them to friends and family, if not buying them for them! I swear by them! I have recently got back from a week’s holiday to Madeira and these trusty lashes lasted all week, surviving extremely windy conditions on the top of mountains to sun cream, sand and the sea! My favourite beauty product!
Excellent quality and look fabulous
Love these more of a natural but full look I love them for everyday
Unfortunately I purchased the wrong ones . I brought classic and they should have been flawless but will order correct ones soon
So easy to put on, light and looked so natural. I was asked alot if they were real 👏
A great day to day lash. Such a lovely look and so comfy
I love these lashes quick and easy also look nice
The Classy One Pre-Cut Lashes (14mm)
I always have struggled putting on lashes in the past so I gave up. But I thought I’d give iLashUk a go! And wow so easy to apply lasts for a good few days. And the comments I got people thought I went to a professional. Thank you so much for now being in my life!! Can’t be without them.
Easy to apply & natural looking.
Love this style for everyday wear !
Love love love these lashes! Giving a salon look without spending 2 hours! Super easy to apply and no more awkward lash gaps when a few fall out! Will 100% be ordering more!
Great lashes! Easy to put on and last a long time
Lovely lashes, looks like I’ve had them done at the salon x
Never have been able to apply lashes - these were so simple and look natural!
Love these too much
Love these it’s only my second time applying/wearing but wow I love them stay on for days 😊
So good to be able to wear lashes that I can do myself at an affordable price. Top Quality product 10/10
Great set of Classy lashes. Easy and super quick to apply. They feel very light and not irritating like some false lashes. Looking forward to see how long they last!
Love these lashes, so beautiful a real confidence booster
I prefer a more natural look but these would be great for a night out
The Classy One Pre-Cut Lashes
Love them so much ordered on subscription so no chance of running out
The Classy One Pre-Cut Lashes
The Classy One Pre-Cut Lashes
complete your ilash routine






Why choose ilash?
At iLashuk, we believe beauty should be effortless, safe, and kind.
Our DIY lash extensions give you the same salon-quality look, without the time, cost, or damage.
Every product is thoroughly tested to meet strict cosmetic regulations, so you can feel confident knowing what you’re using is gentle, high-performing, and safe for your eyes.
We’re proud to be a cruelty-free brand, approved by PETA. No animal testing, ever.
Our lashes are lightweight, soft, and designed with an ultra-thin band that blends seamlessly into your natural lash line.
You’ll forget you’re even wearing them, but you’ll never forget how they make you feel.
This is beauty on your terms. No appointments. No compromises.
FAQ'S
Pre-mapped DIY lashes are pre-cut into 8 individual segments, with the lash lengths already arranged into a specific lash map. There is no trimming or mapping required, simply apply the segments in order to create the designed look.
Yes. Pre-mapped lashes are our easiest DIY application method because the segments are already cut and mapped for you. They’re ideal if you want a salon-inspired lash look without having to create your own lash map.
Each pre-mapped set contains 8 pre-cut segments, 4 per eye. The segments are already arranged to create the intended lash map, so there is no need to trim or work out which lengths go where.
No. The lashes arrive pre-cut and ready to apply, so you can apply the segments straight from the tray.
When applied correctly with Bond & Seal, iLash pre-mapped lashes can last up to 7 days. Wear time can vary depending on application, skincare, natural oils and lifestyle.
Yes. However, excessive water, heat, steam, oils and rubbing can affect longevity. For the best results, take care around your lashes and avoid sleeping directly on them where possible.
Use iLash Remover to gently loosen the adhesive before removing the lash segments. Never pull or force the lashes off, as this can damage your natural lashes.

Free delivery over 60

As seen in vogue

OVER 1000+ 5★ reviews

waterproof & sweatproof