




You’ve spent time getting your lashes on perfectly… so why are they lifting after a day or two?
If you’ve ever applied your DIY lashes, admired them in the mirror and then woken up the next morning to find one corner has decided to give up on you, you’re definitely not alone.
The good news? It doesn’t necessarily mean your lashes aren't working.
Sometimes, it’s simply a small change in your application, preparation or aftercare that can make all the difference.
Here are 7 common DIY lash mistakes that could be affecting how long your lashes last and what you can do instead.
1. Applying your lashes to dirty or oily lashes
This is one of the biggest things to get right before you even pick up your lashes.
Make sure your natural lashes are clean, dry and free from makeup, skincare and oils before application. Any residue sitting around your lash line can interfere with the bond and make it harder for your lashes to stay securely in place.
Think of it as creating the perfect base before you start.
Our tip: Give your lashes a good clean and make sure they're completely dry before applying.

2. Using too much bond
When it comes to lash bond, you might think more = more hold.
But that's not necessarily the case.
We recommend applying a thin layer of bond just above your waterline, rather than coating your lashes like mascara. Too much product can make application messier and harder to control.
A little goes a long way.
3. Not placing your lashes correctly
Placement is everything.
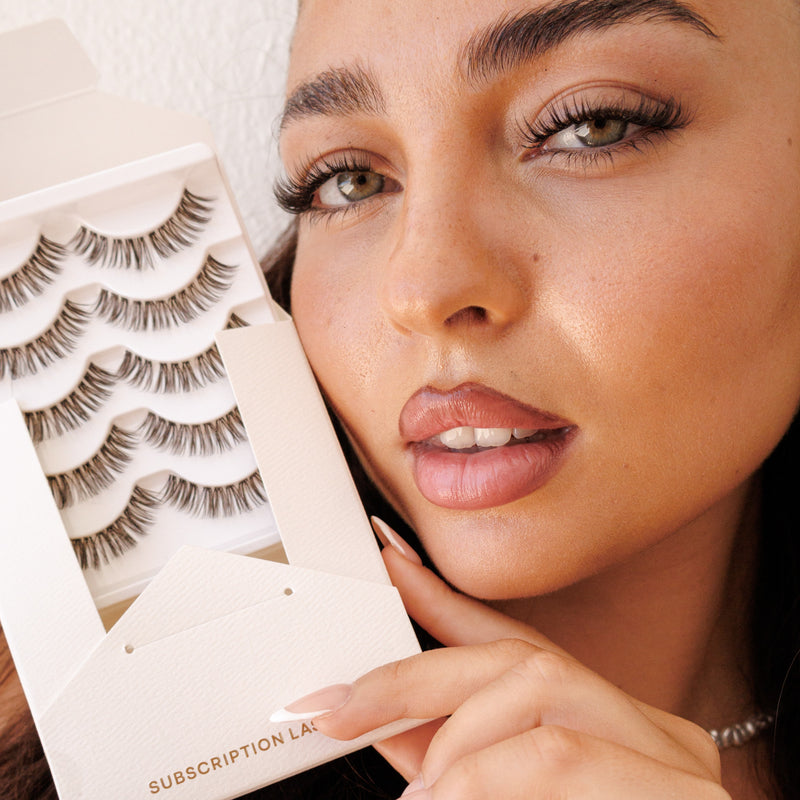
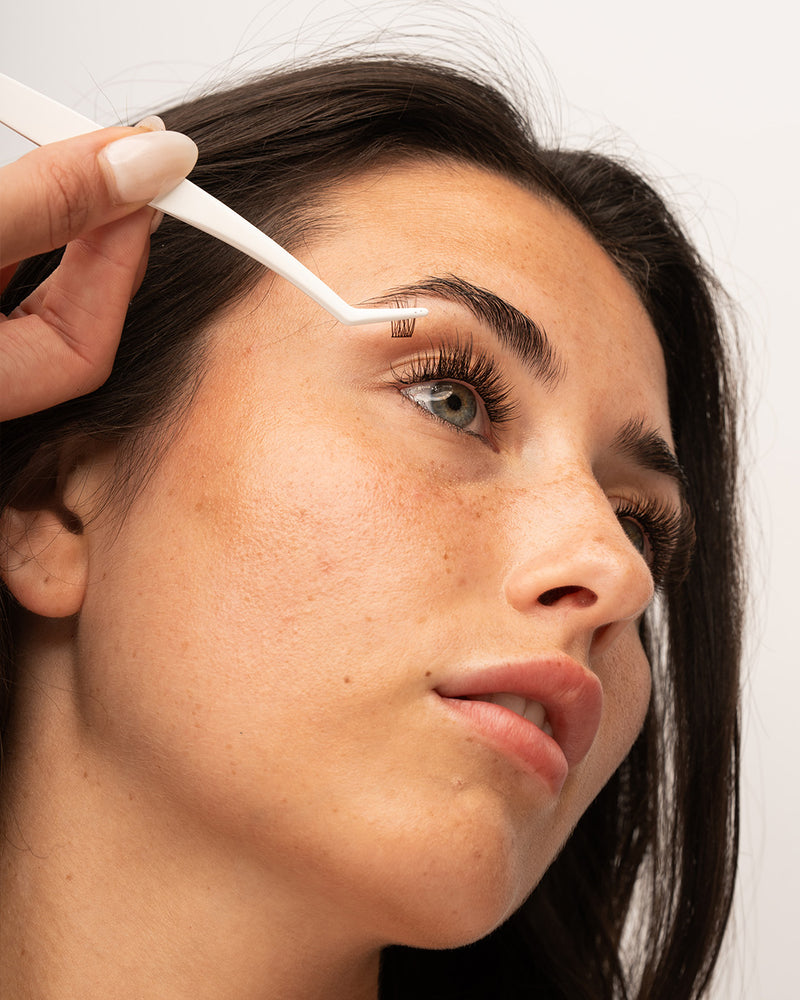
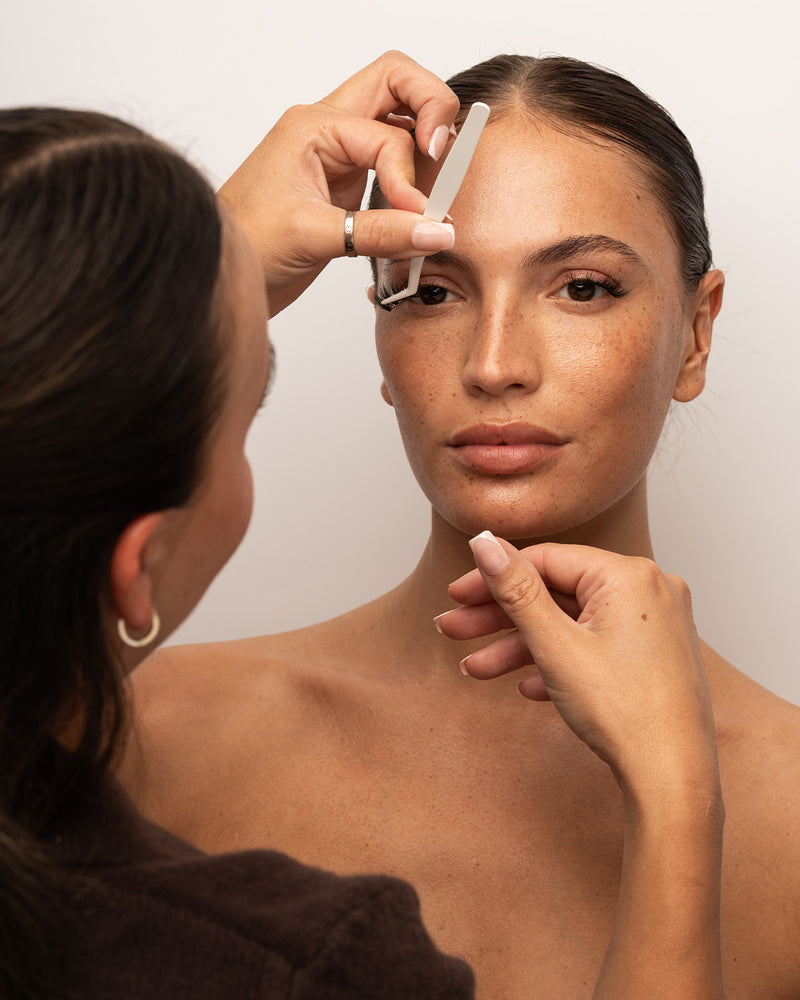
With iLash lashes, the aim is to get your segments sitting neatly underneath your natural lashes, while keeping the waterline visible. You don't want to place them directly onto the waterline.
Take your time when you're applying them. Start from one side and work your way across, adjusting each segment until you're happy with the position.
And don't worry if you don't get it perfect on your first attempt, that's what the adjusting stage is for!

4. Touching your lashes too much
We get it.
You've just done your lashes and you can't stop looking at them.
But constantly touching, picking or playing with your lashes can transfer natural oils from your fingers onto the lash area and affect how long they last.
Once you've finished your application, leave them alone as much as possible.
Your lashes will thank you for it!
5. Getting them wet too soon
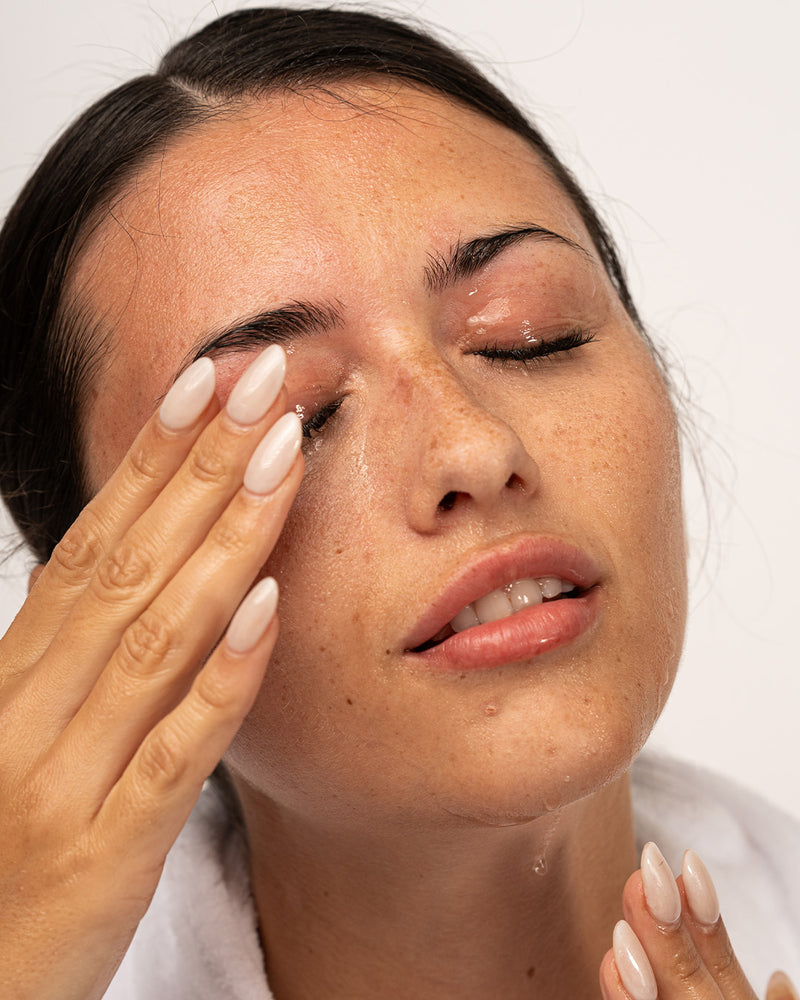
If you've just applied your lashes, give them a little time before exposing them to water.
We recommend avoiding water for 24 hours after application and avoiding excessive heat during that initial period.
So if you're planning a lash day before a holiday, event or big night out, don't leave your application until the last possible minute.
Give your lashes time to settle.

6. Using oily products around your eyes
Oil and bonds aren't the best combination.
Oily skincare, makeup removers and products around the eye area can break down the bond over time, which can contribute to your lashes lifting sooner. We specifically recommend avoiding oily products around the eye area to help protect retention.
This doesn't mean you have to completely change your skincare routine.
Just be mindful of what you're putting directly around your lashes.
And remember... clean lashes are happy lashes!
7. Sleeping on your face
This one's a tricky one if you're naturally a front sleeper!
Constant pressure against your pillow can cause your lashes to rub, twist or wear down faster.
If you can, try sleeping on your back or side to minimise friction.
And if you do notice one of your outer lash segments has loosened after sleeping, don't panic. Depending on the lash system you're using, you may simply need to clean the area and reapply the affected segment following the relevant application instructions. iLash recommends minimising pressure on the lashes while sleeping.
So, how can you make your DIY lashes last longer?
It really comes down to three things:
Prep
Start with clean, dry lashes and remove any makeup, skincare or oils.
Application
Take your time and make sure each lash is positioned correctly.
Aftercare
Avoid unnecessary touching, be mindful of oil and give your lashes the right care after application.
It doesn't have to be complicated.
Once you've found a routine that works for you, DIY lashes can become one of the easiest parts of getting ready.

What about Pre-Glued lashes?
If the thought of bond, seal and multiple application steps sounds like too much, pre-glued lashes could be your new best friend.
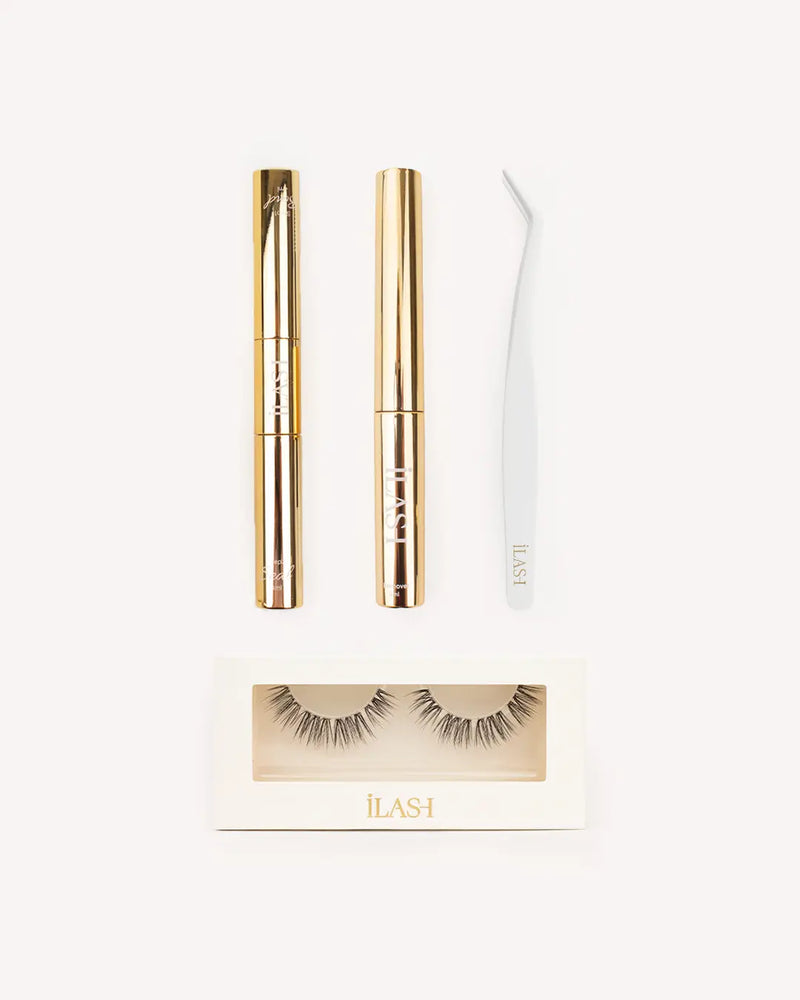
iLash Pre-Glued Lashes come with the adhesive already applied, meaning there's no separate bond or seal required. They're designed to be applied underneath your natural lashes for a quick, easy finish.
The application is simple:
1. Use non-stick tweezers to carefully lift the lash from the tray, avoiding the adhesive base.
2. Position it underneath your natural lashes, close to (but not directly on) the waterline.
3. Gently press your natural and false lashes together.
4. That's it. ✨
We recommend using non-stick tweezers because they help you handle the lashes without the adhesive sticking to your tool.
The biggest takeaway?
Don't blame the lashes straight away. 👀
If your DIY lashes aren't lasting as long as you'd hoped, have a look at how you're preparing, applying and caring for them first.
Sometimes, making one small change can completely transform your results.
And remember everyone's natural lashes, lifestyle and application technique are different, so your wear time may vary.
Ready to get your next set right?
Explore the iLash collection and find your next favourite lash. 🤍