




Your Step-by-Step Guide
Want long, fluttery lashes without salon prices? DIY lash extensions are the beauty hack that gives you salon-worthy results — right at home. With the right tools, good lighting and a bit of patience, you can achieve stunning lashes that last for days.
Why Choose DIY Lash Extensions?
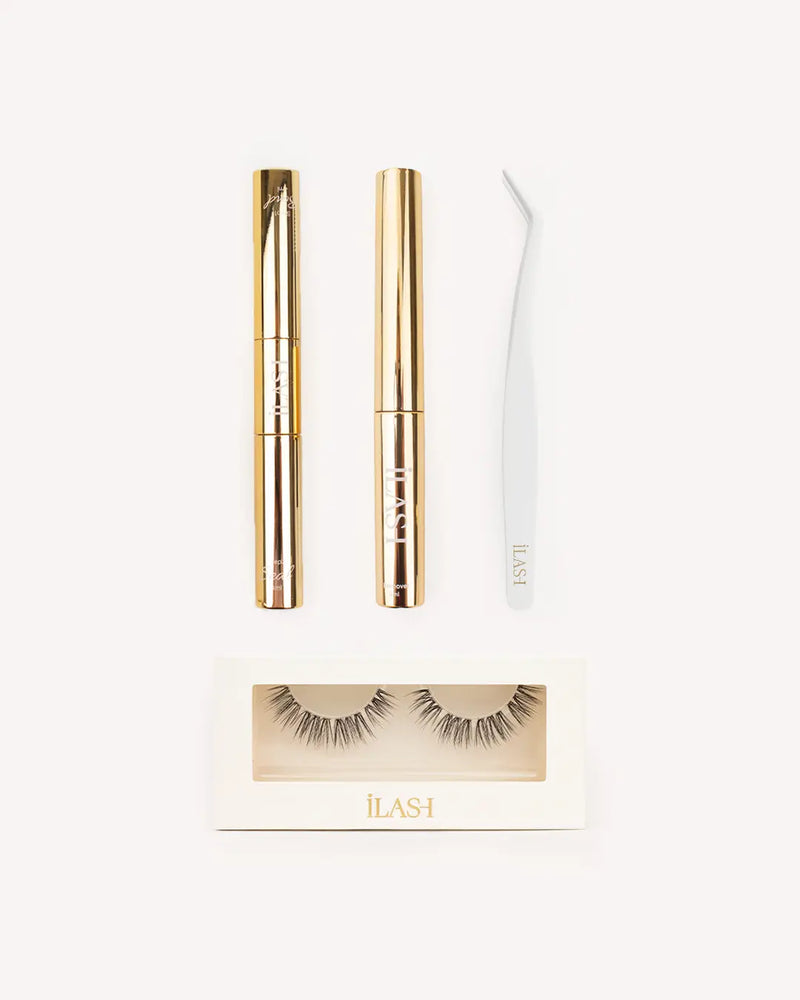
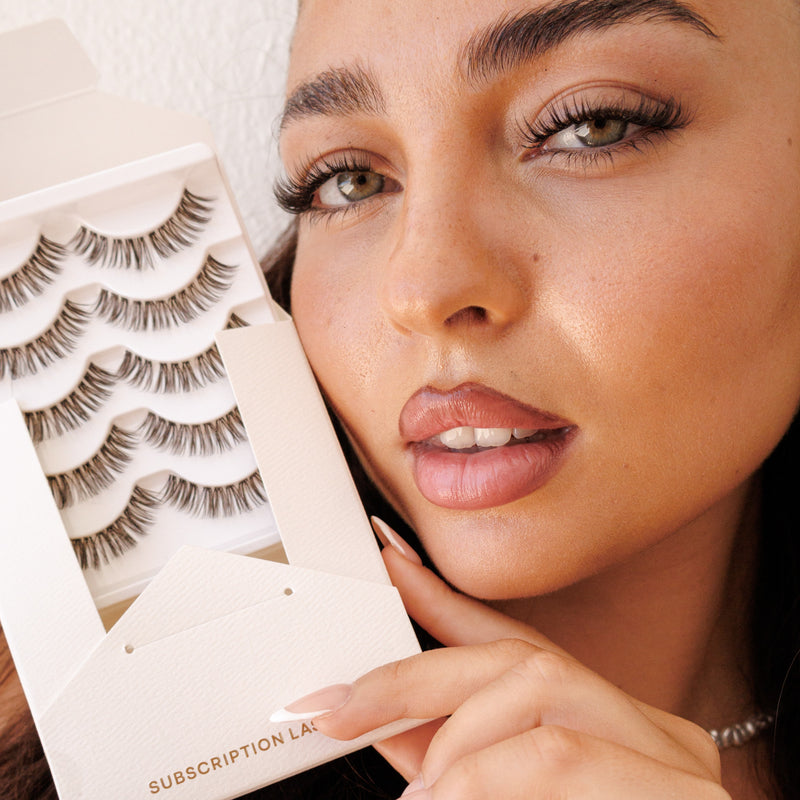
DIY lash extensions are a cost-effective, flexible, and beginner-friendly alternative to salon lash extensions. With easy-to-use kits like iLash UK’s Starter Set, you get everything you need — pre-cut lash segments, bond & seal adhesive, tweezers, and step-by-step instructions — to create your perfect lash look.
You’ll Need
Before you begin, make sure you have:
-
Lash Extensions Kit (lashes, adhesive “bond”, and sealant)
-
Non-stick tweezers
-
Mirror with good lighting
-
Optional: lash spoolie brush
-
(Pro tip: clean, dry lashes help the bond grip better)
Step-by-Step: Applying DIY Lash Extensions at Home
1. Prepare Your Natural Lashes

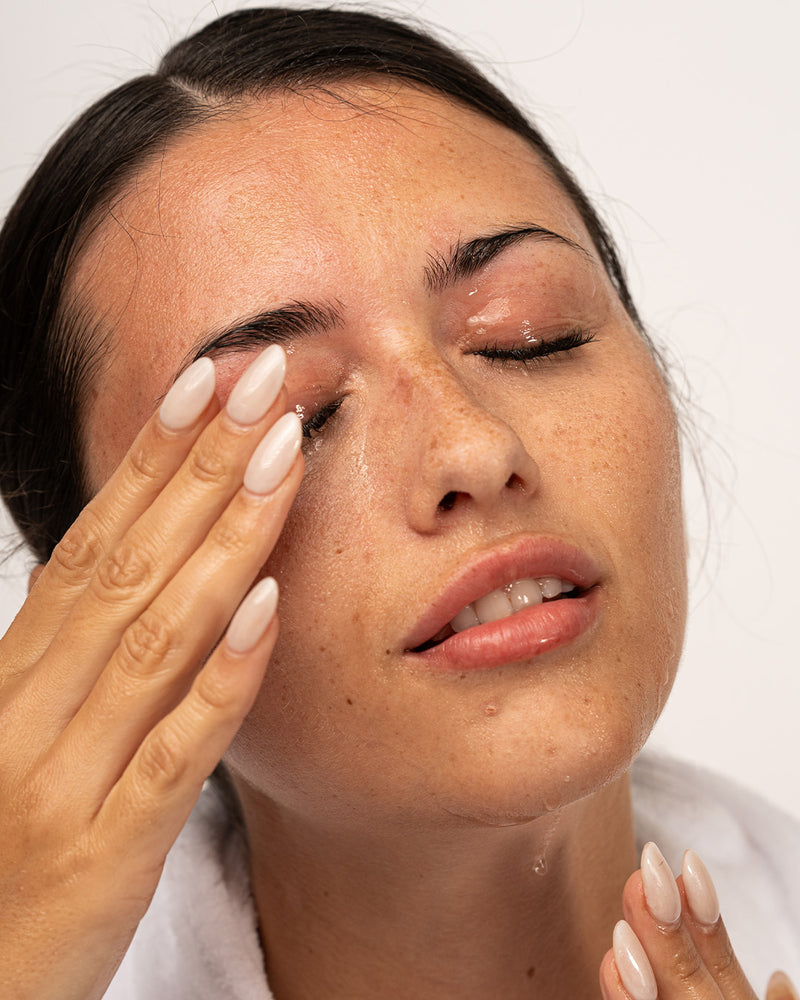
Start with clean, makeup-free eyes — remove oil, mascara and residue with a gentle cleanser or micellar water. This ensures the bond sticks properly and your extensions last longer.
2. Apply Lash Adhesive (Bond)
Use the included adhesive to lightly coat the base of your natural lashes — think light stroke, not heavy coat. Too much adhesive can cause clumping and irritation.
3. Add the Lash Segments
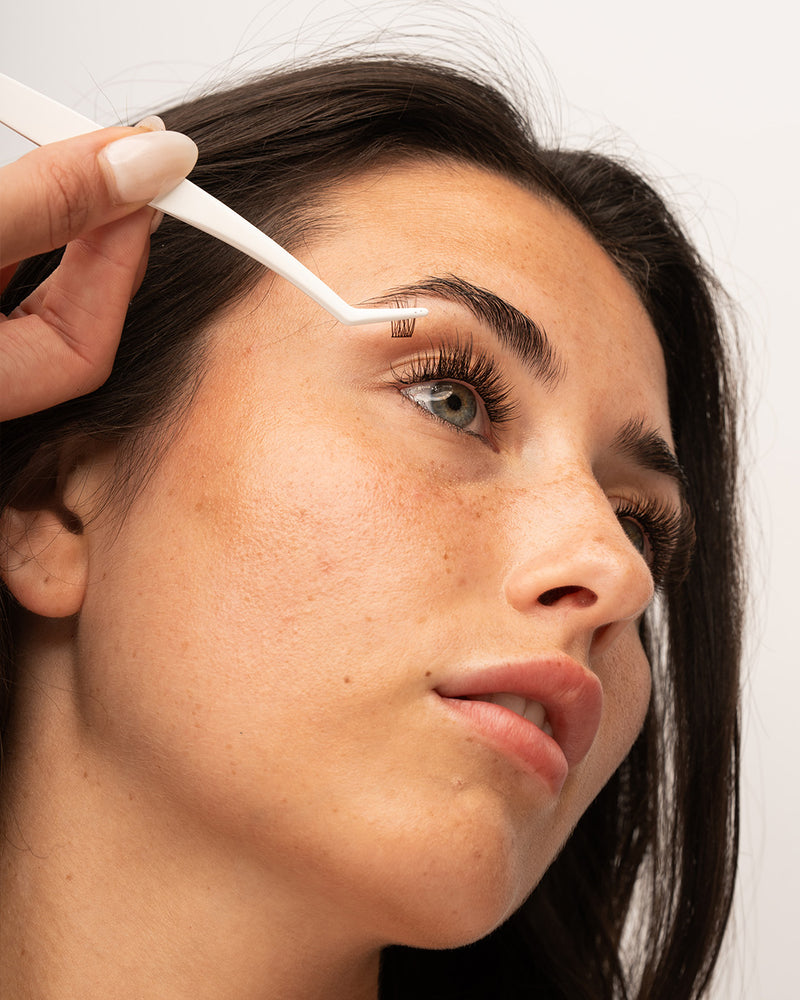
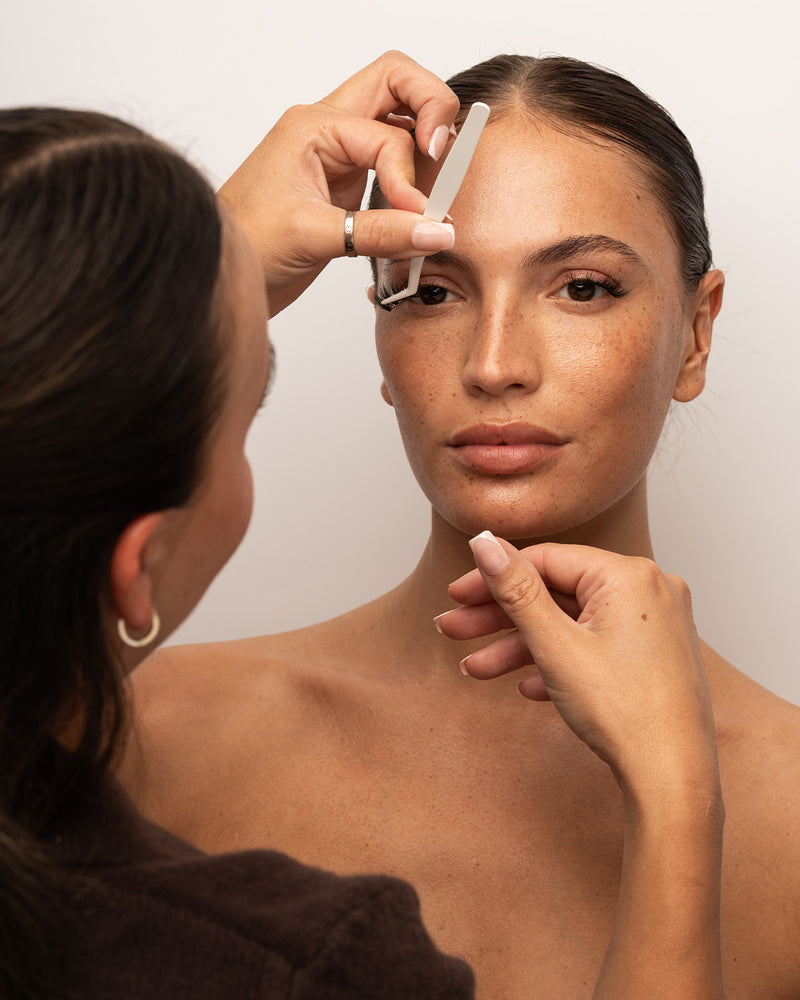
Using tweezers, gently place lash segments under your natural lashes. Start from the outer corner and work inwards for better control and a natural gradient. Slightly overlap segments to create fuller volume.
4. Press & Secure
Once the lash segments are in place, lightly press them with your fingers or tweezers to ensure they bond neatly with your natural lashes. This also helps prevent gaps.
5. Seal the Look
Apply the sealant to the lash base — this removes tackiness and helps the lashes stay secure through daily wear, humidity, or light sweating.
6. Final Touches
Brush through your lashes with a spoolie to blend them naturally with your real lash line and style them the way you like.
Top Tips for DIY Lash Extensions Success
✅ Use Good Lighting & a Standing Mirror – Looking down into your mirror can make placement easier and more accurate.
✅ Less Is More with Glue – Too much adhesive causes clumps and irritation.
✅ Avoid Water & Oils for 24 Hours – Let your lashes fully set before steam, makeup, or skincare.
✅ Be Patient – Lash application gets easier with practice!
Aftercare: Make Your Lashes Last
To get the most wear from your DIY lash extensions:
-
Avoid rubbing or touching your lashes
-
Sleep on your back or side
-
Use a soft spoolie daily to groom
-
Stay oil-free around the eye area
Final Thoughts
DIY lash extensions are a fun, empowering way to elevate your beauty routine at home. With careful application, the right tools, and a bit of practice, you’ll achieve gorgeous lashes that look professional without the salon price tag.
Ready to get started? Grab your lash kit, set up your mirror, and let’s flutter! 💫